This is an old revision of the document!
Table of Contents
Introduction
Ball bond
This is the most common and cost effective method for general use on modern ICs.
An electric arc melts the tip of the wire to form a ball, which is then welded to the pad by pressure and ultrasound. The second bond (from the wire to the leadframe) is normally very similar to a wedge bond.
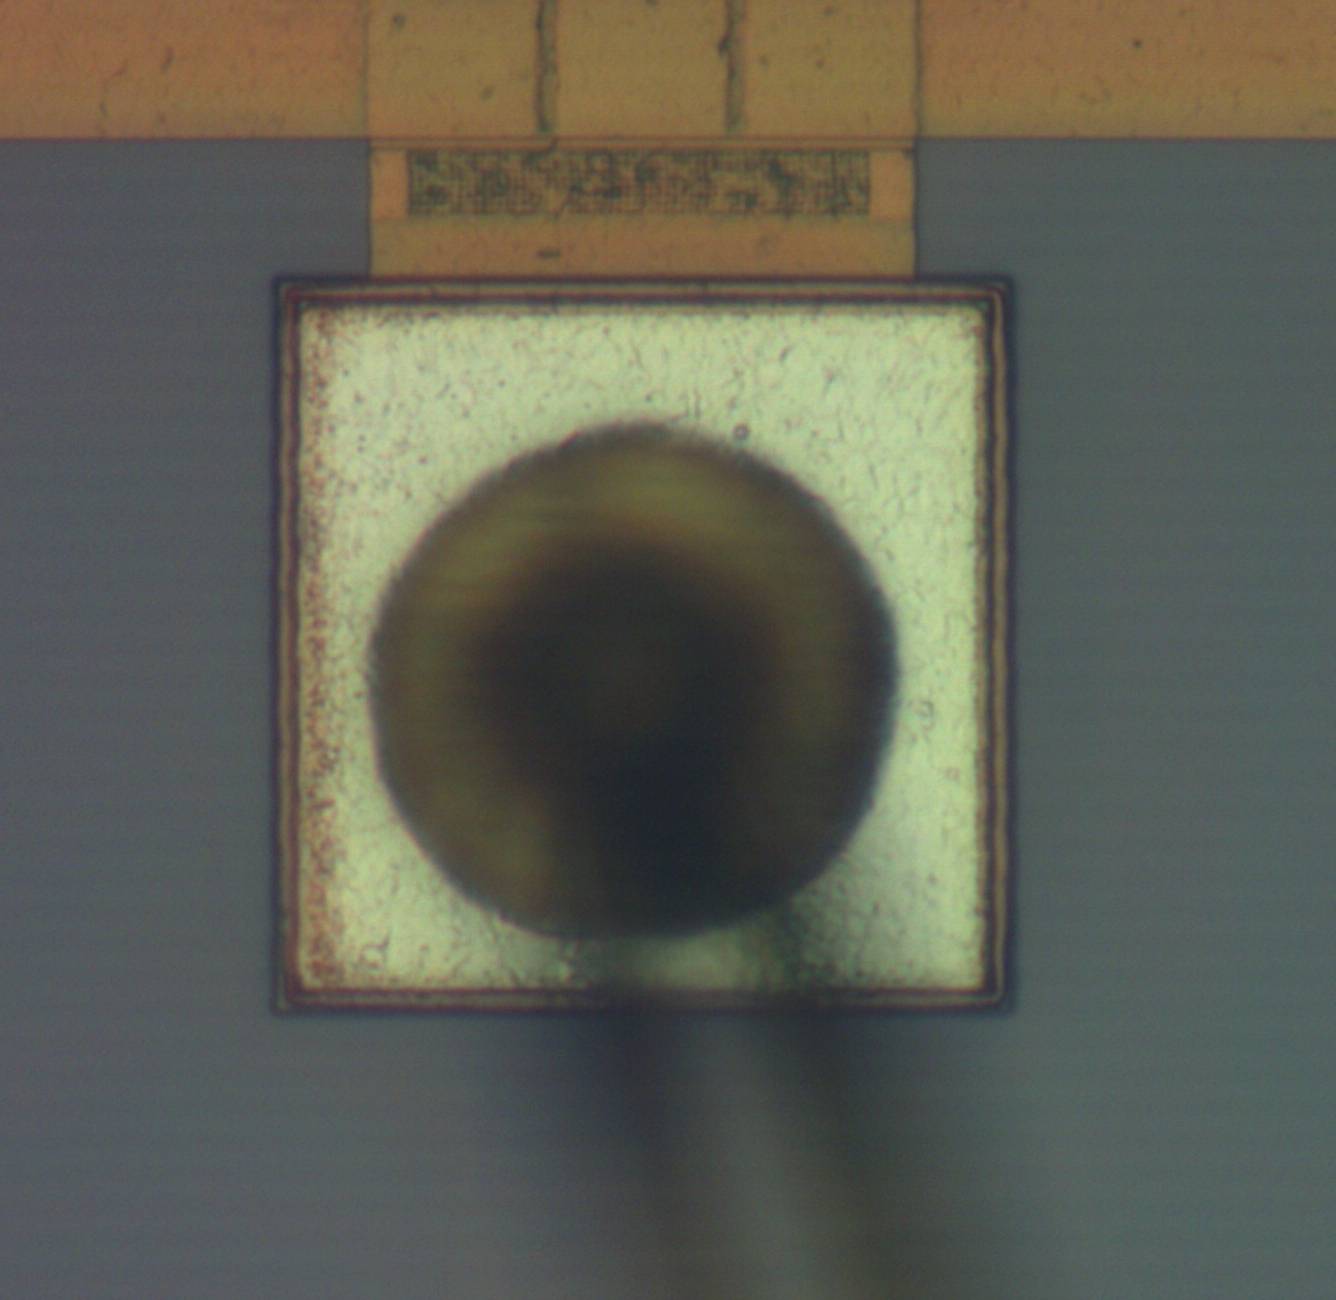
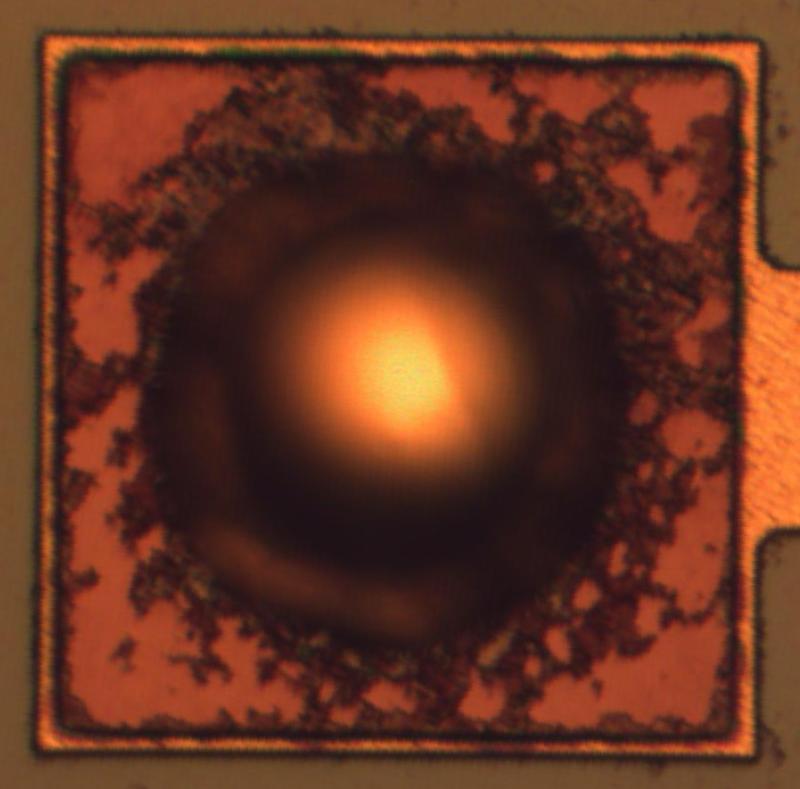
Overhead shots typically look like this (Photobit camera sensor, focal plane on pad)
or this (focal plane on ball)
Angled SEM image of ball bond (Samsung 16-mbit DRAM). Image copyright 1998-2009 Smithsonian Institution; used by permission.
Wedge bond
This uses only ultrasound, pressure, and heat to connect bond wires to ICs as opposed to ball bonding which also uses electric current. As it is slower than ball bonding, it is only used now for special high speed applications. However, it is common in older ICs.
Flip chip
While this is not technically wire bonding since no wire is involved, it is a very common packaging method for modern high-density devices due to its improved thermal performance (heatsinks can be applied directly to the back side of the die).
Unlike normal wire bonding, in which the component side of the die faces up, a flip-chip package has the component side facing down. Solder bumps are applied directly to the bond pads. Flip-chip packages are almost universally BGAs (though some older CPUs were flip-chip pin grid array packages) and can be divided into two main subcategories:
Chip-scale packaging
Generally used for extremely high density devices but doesn't scale well to high pin counts due to the massive number of PCB layers and tiny vias that would be needed. The solder-bumped die is used directly as the finished device, possibly with some plastic applied to the back and between balls for protection.
Most commonly seen in flash and DRAM products.
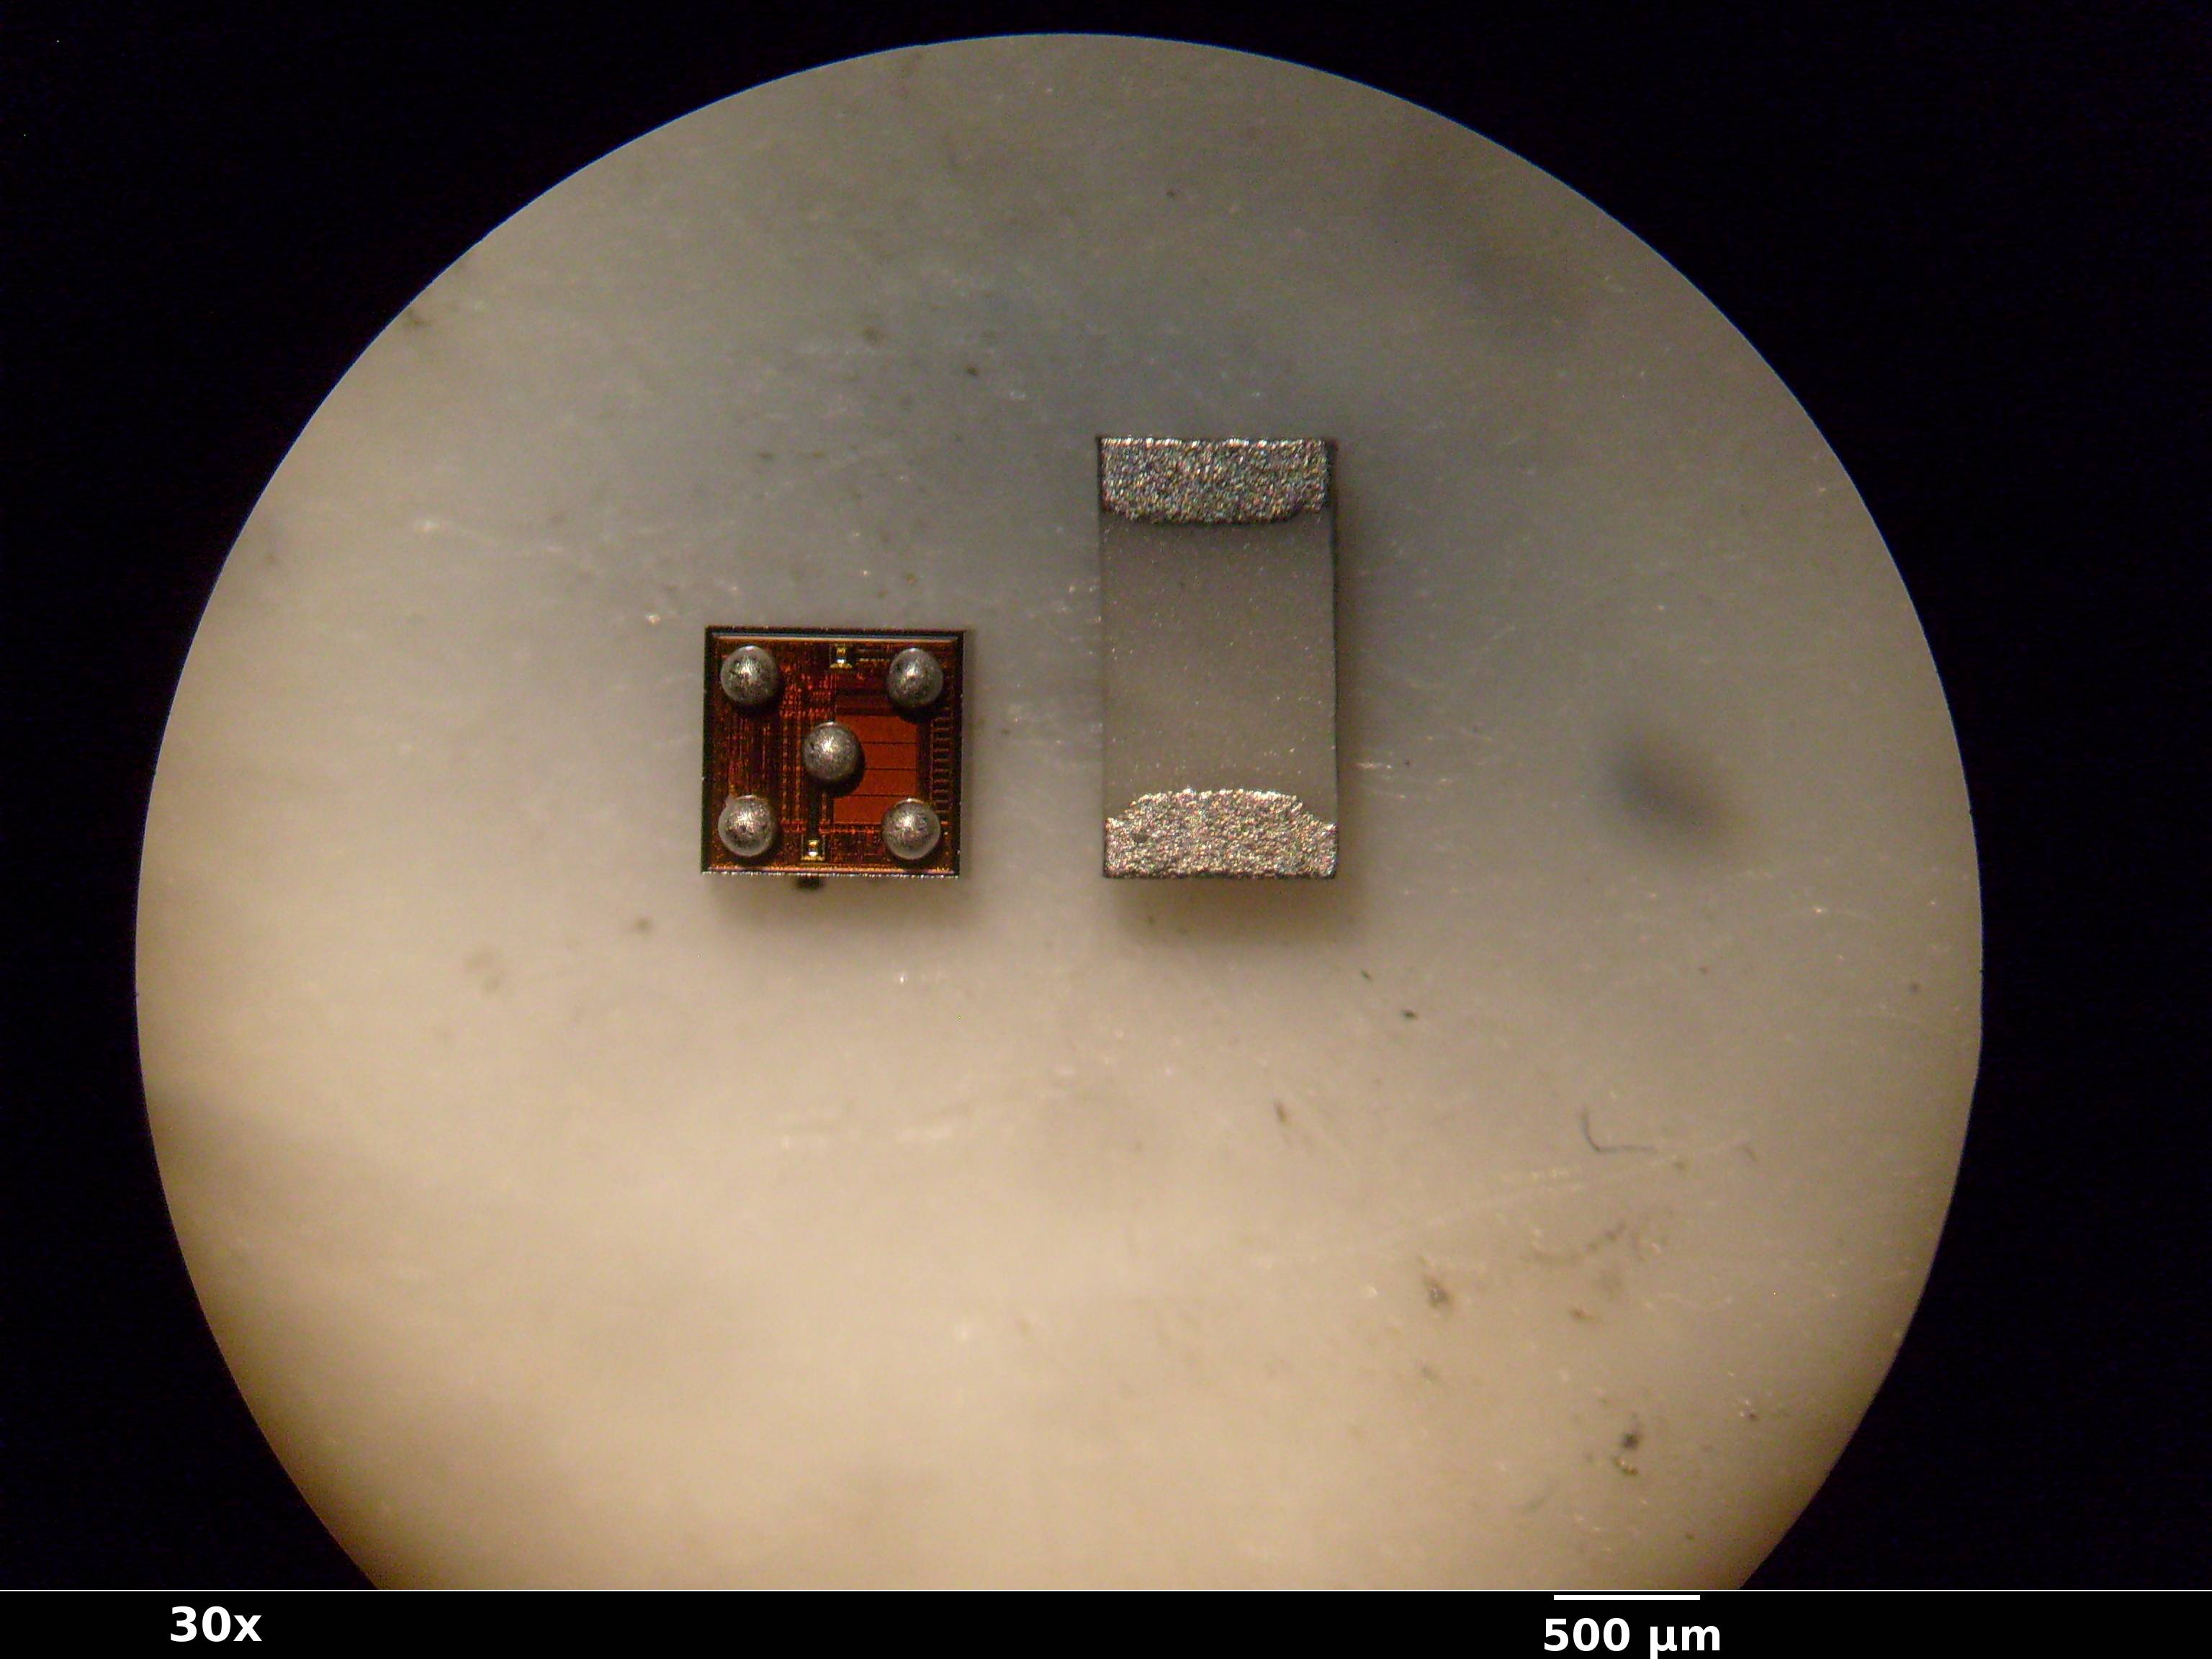
Example (Microchip 24AA16 EEPROM in 5-ball chip-scale package next to surface-mount resistor)
Breakout packages
The die is bumped with special high-temperature solder and soldered in the factory to a breakout board, which is a high-density multilayer PCB (often using microvias and extremely fine traces) that connects the fine-pitch solder bumps to a coarser-pitch BGA or PGA package compatible with standard printed circuit board processes.

Removal
Shearing
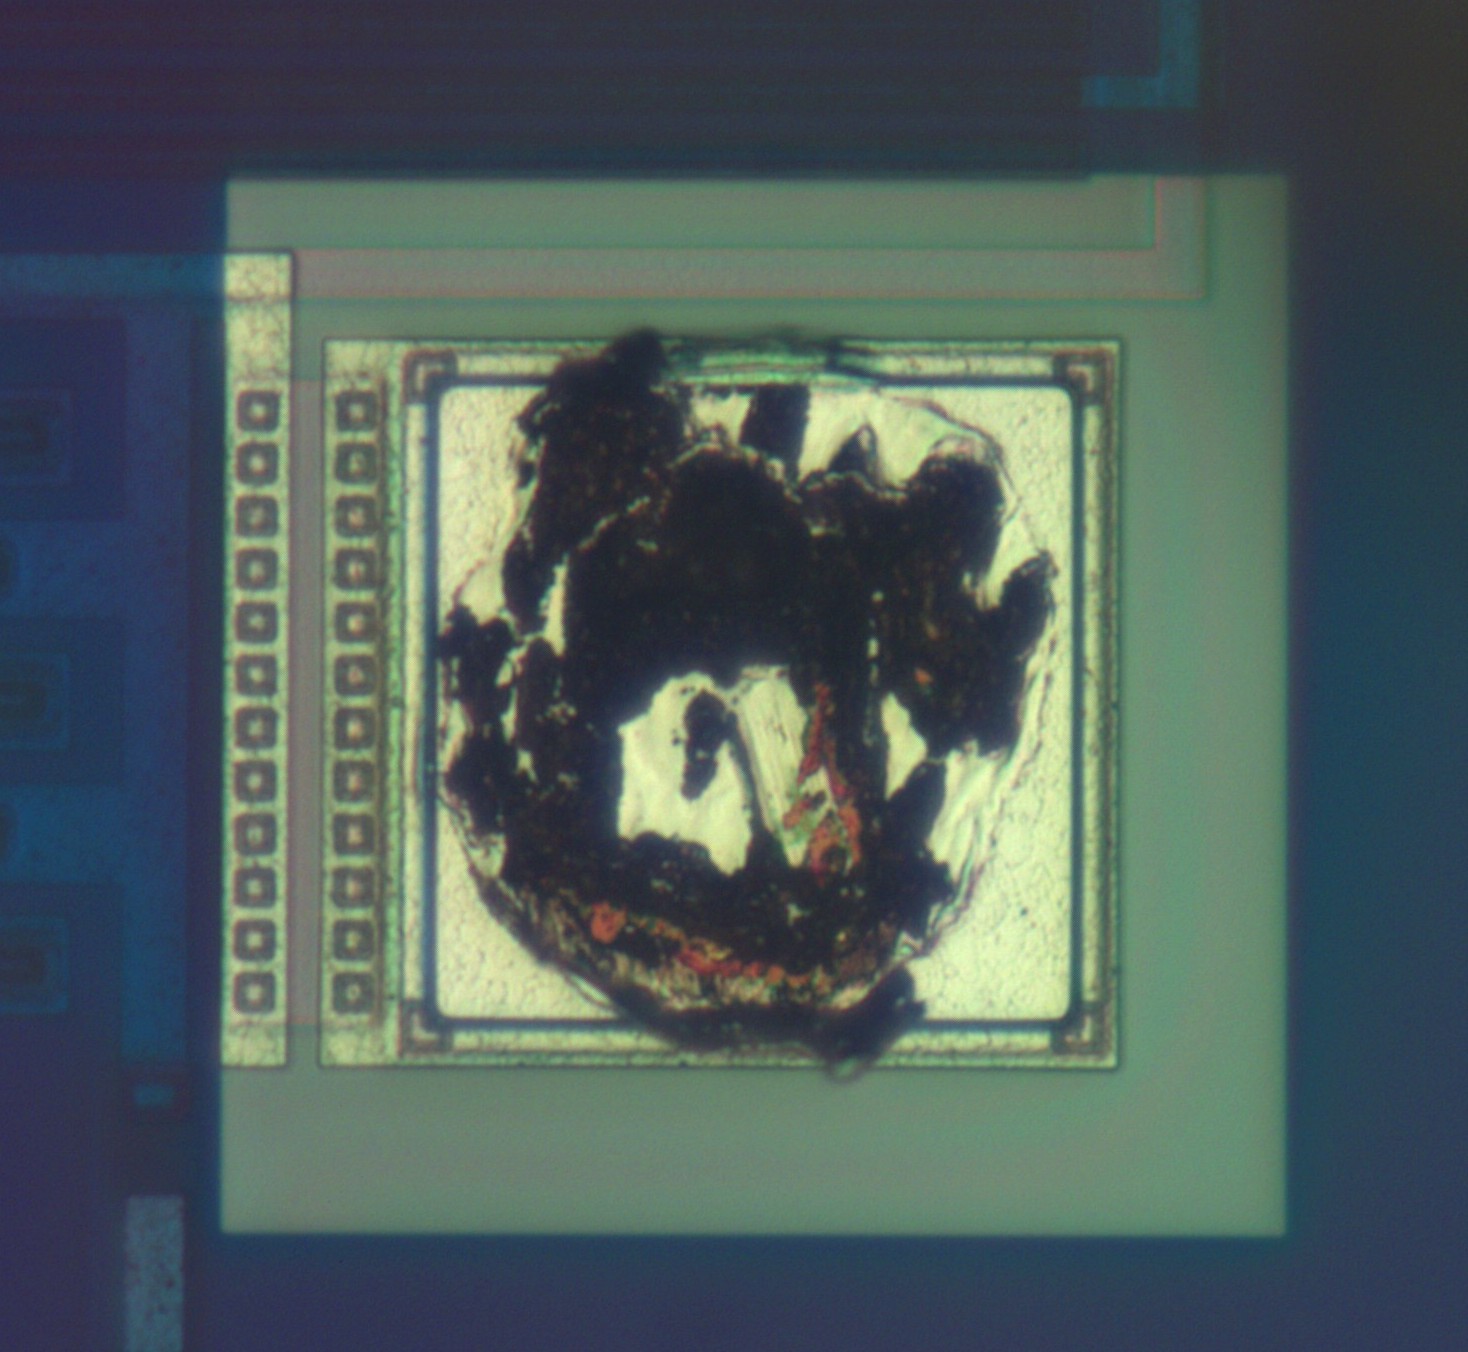
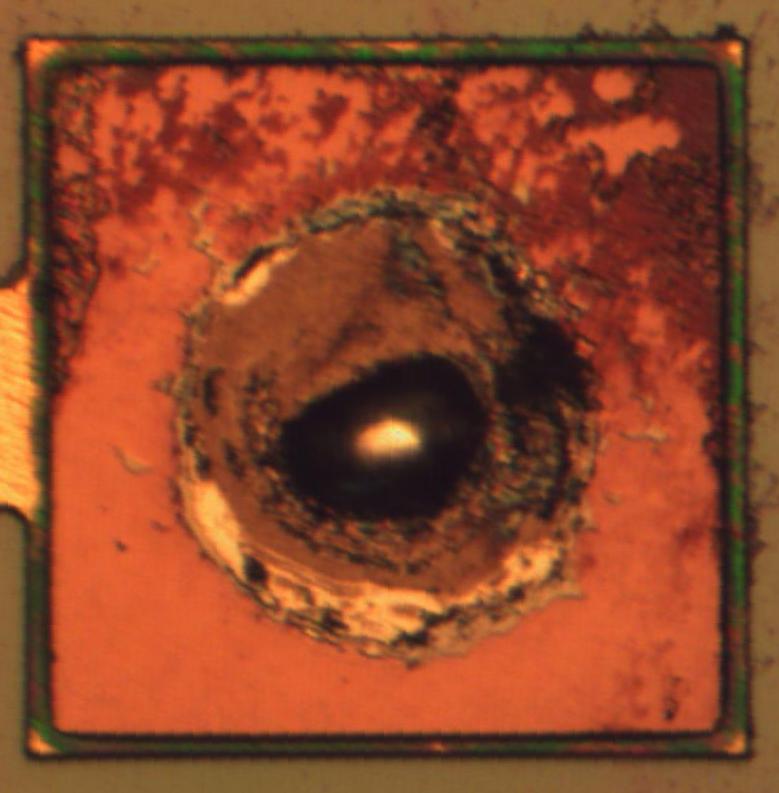
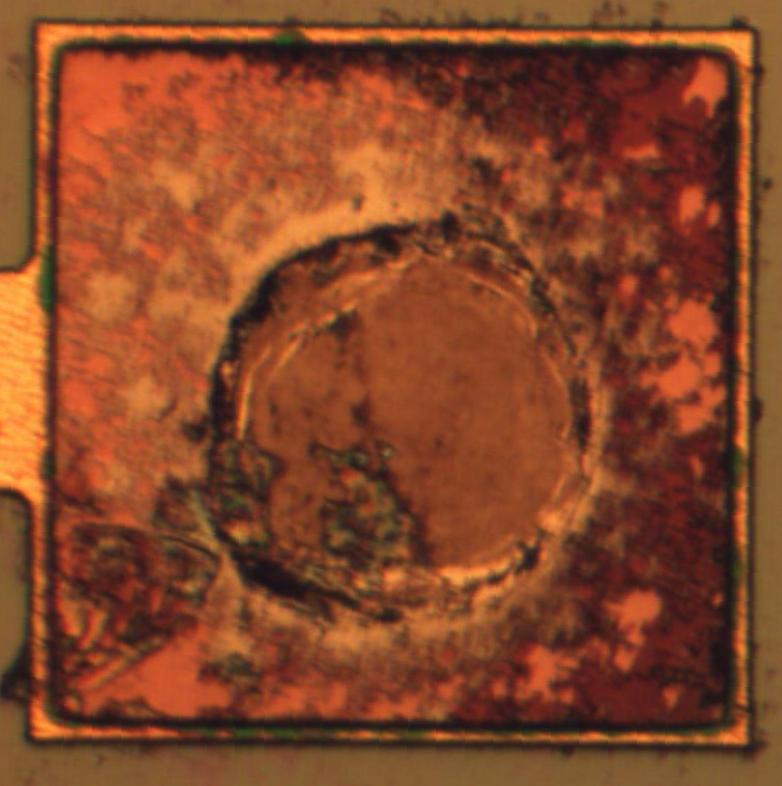
The most simple way to remove bond wires is to simply knock them off with a pair of plastic tweezers or similar. This usually leads to pads that look like this:
This is much more common. When the bond wire is removed a chunk of silicon is taken with it leaving an indent. In some rare cases the metalization can be ripped off the silicon entirely.
Chemically remove bond pad
Weak nitric acid eats aluminum. Since most bond pads are aluminum, one can simply put a chip in weak nitric acid and all the bond wires will fall off. Don't leave it in too long as it will start to etch under the overglass and eat top metal. Aqua regia also works and is much more aggressive as it will work even when weak at room temperature.
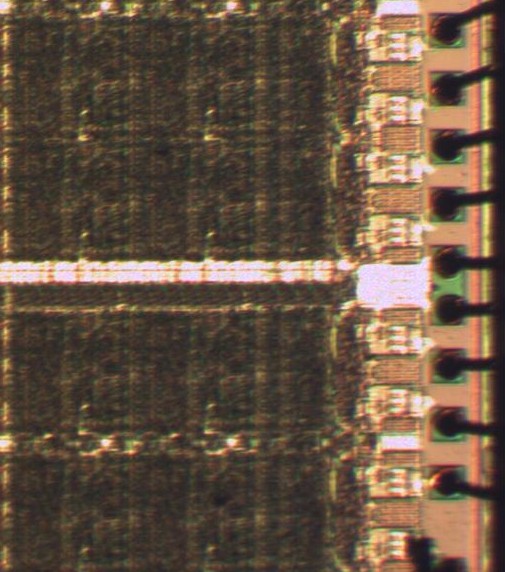
Example damage from aqua regia. Before (Xilinx XC2064-70):
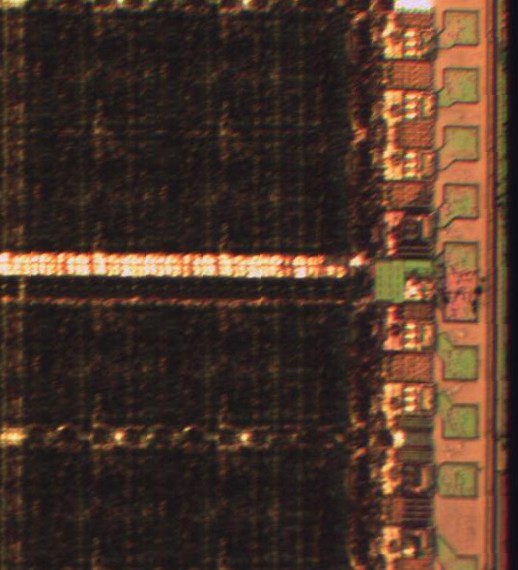
After:
The discolored area above and into the the left green area is from acid seeping relatively far into the die. Similarly, there is a second patch with excessive acid damage near the bottom. Note how the center of the die typically does not sustain any damage due to overglass passivation.
Chemically remove gold
Gold mining literature reveals a number of ways to dissolve gold. Gold mining tends to be more selective to stay cost effective which is what we want. NaCN tends to be the chemical of choice with thoria less toxic but less economically viable.
Solder-gold amalgam
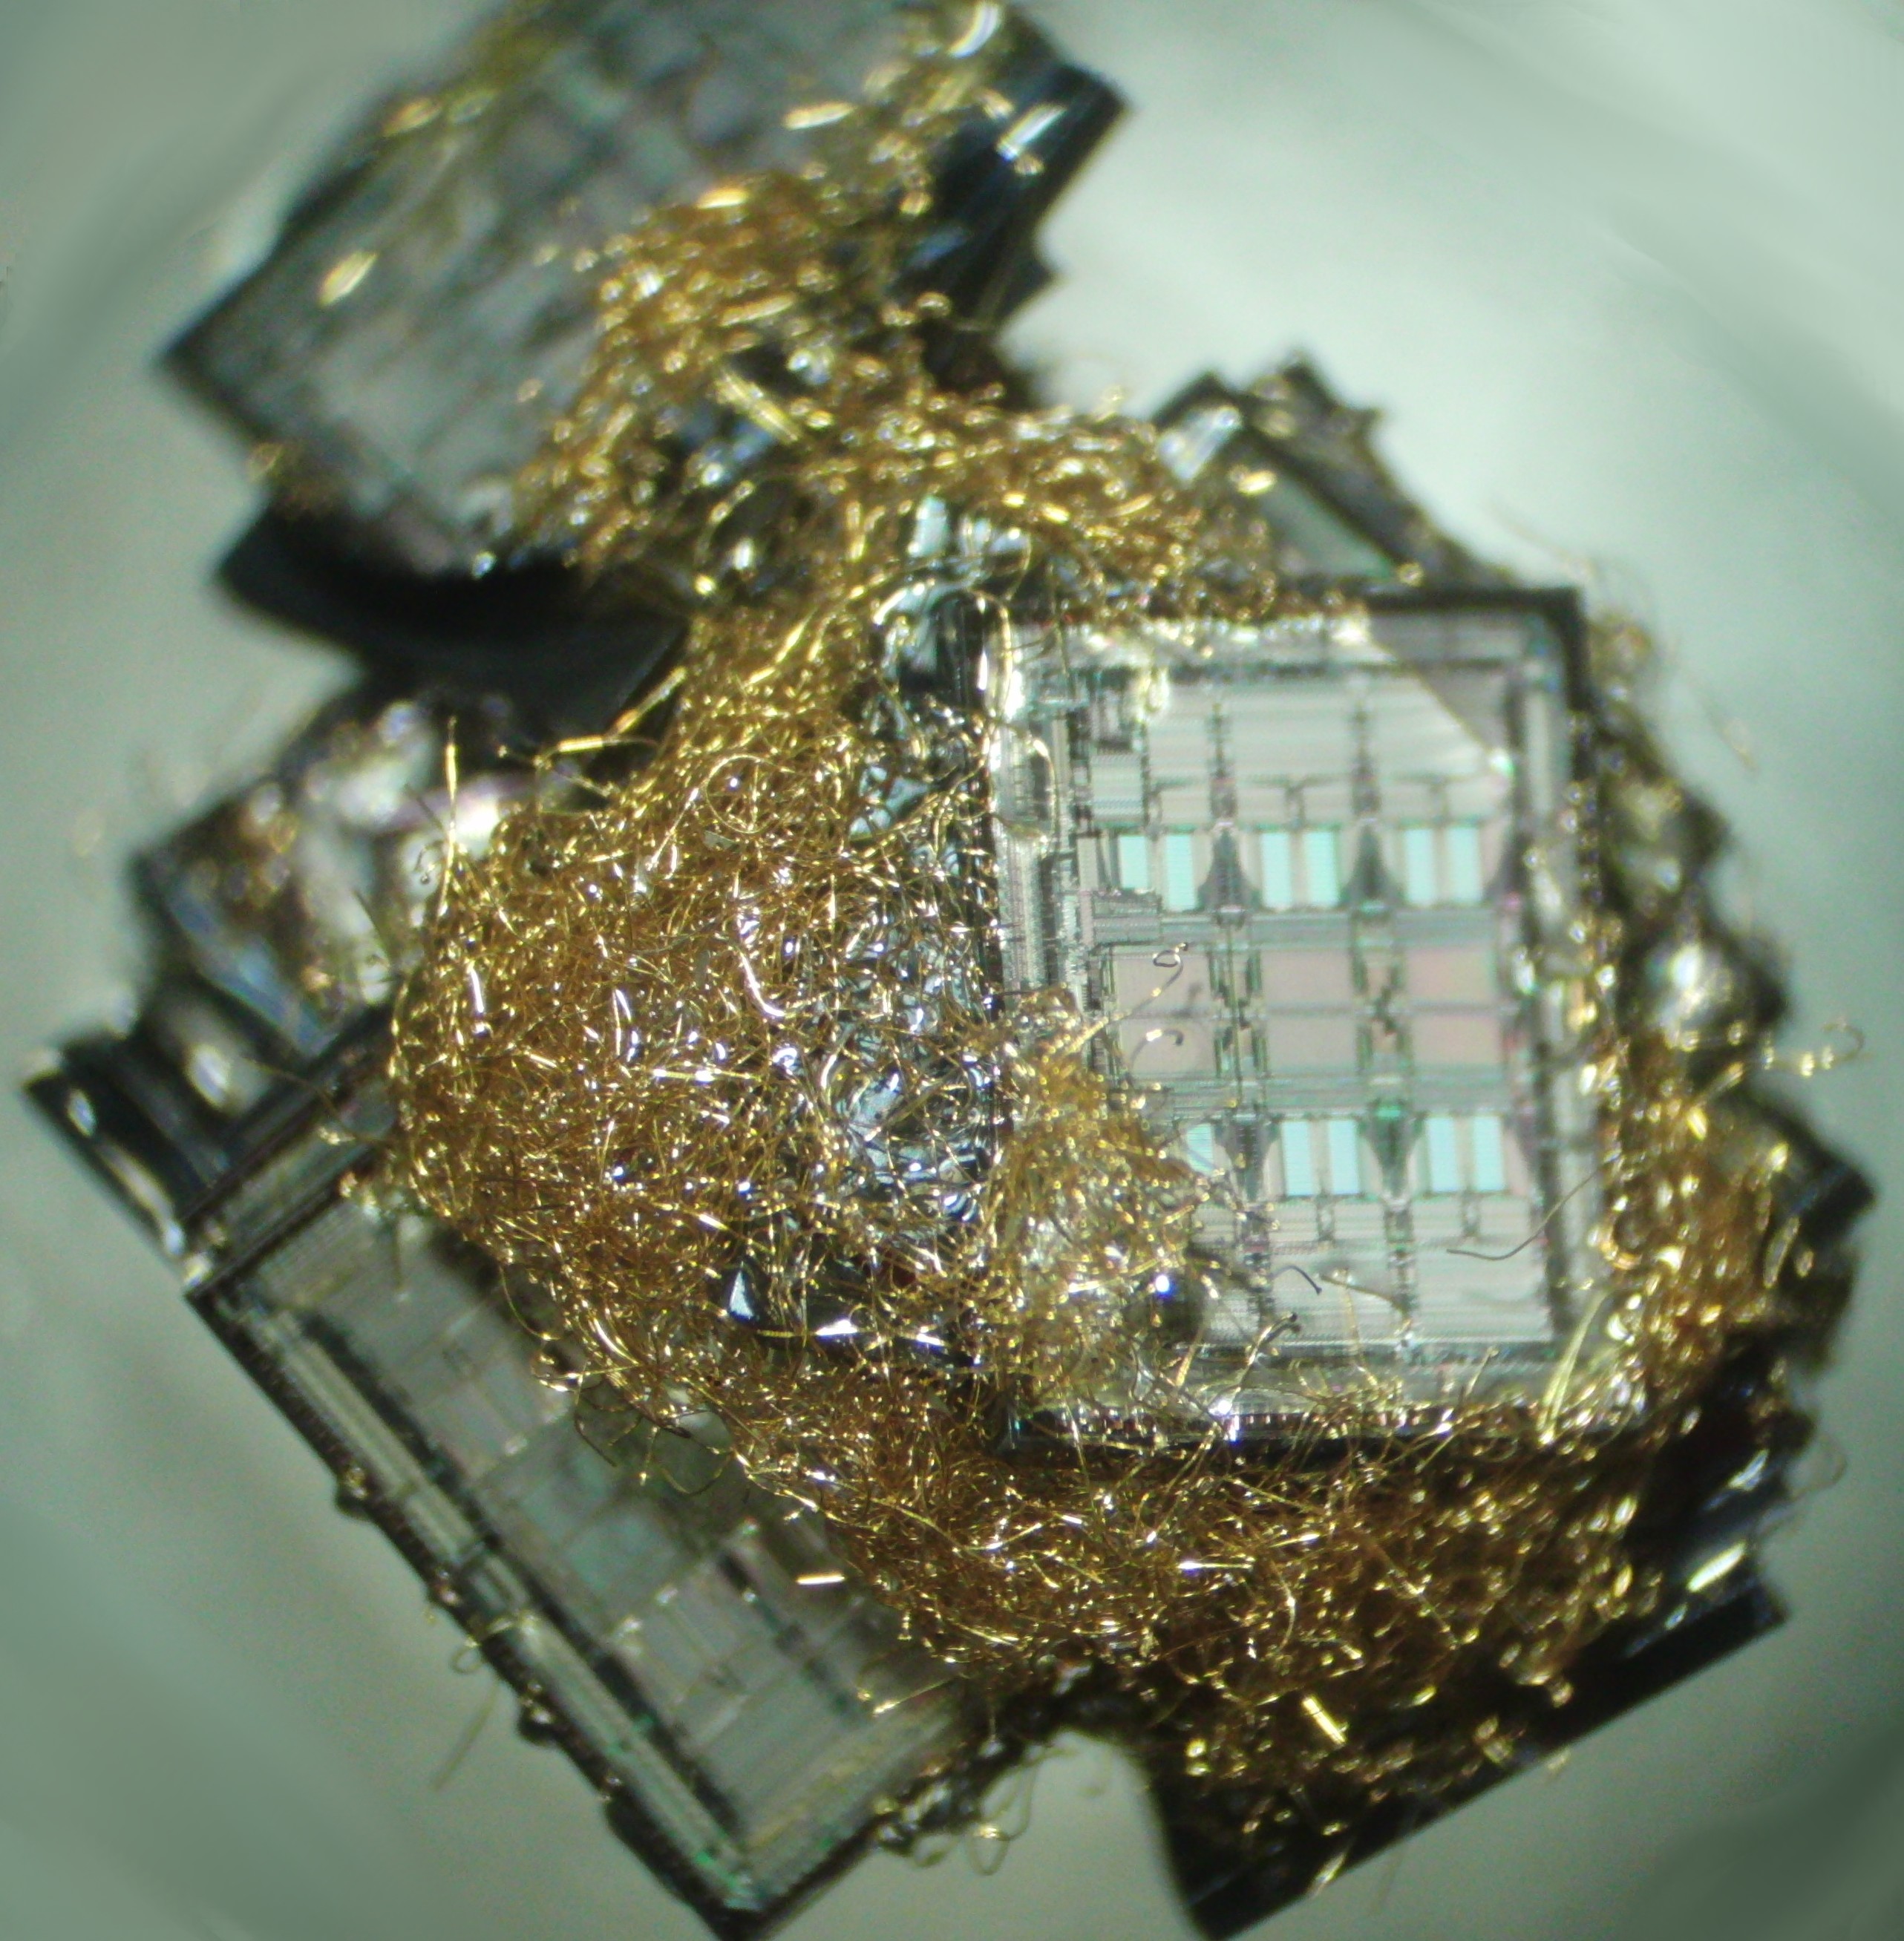
The most effective way to remove gold bond wires so far has been hot lead-gold amalgam. Sometimes two metals can be melted together to form an alloy at much lower than their melting point. Gold and lead form such a mixture.
Pad from same chip with bond wire still attached:
Pad with bond wire partially dissolved (note the solder tinning):
Pad with bond wire fully dissolved:
JM procedure 04/29/2013
Equipment
- 50 mL glass beaker
- Ultrasonic cleaner
- 100 mL PTFE beaker
Materials:
- Syringe of solder paste
- Acetone
- Aluminum foil
- Carbon fiber tweezers
Procedure:
- Tilt hot plate such that solder will flow to one side of beaker
- Heat hot plate to solder melting point but not above
- On mine this is power level 6
- Depends on specific solder used and other factors
- Place die face up at glass beaker edge
- Dispense solder paste on die
- Be generous: cover it well
- Gently place older solder on top of pasted die
- Cover glass beaker in aluminum foil
- Place glass beaker on hot plate with die side downhill
- Wait for solder to melt. The die should be completely covered in solder
- About 2 minutes in my setup
- Slosh solder around a little to ensure no voids
- Flux should keep die in place
- Let cook for at least 5 minutes with solder covering the die
- Turn beaker 180 degrees so that solder rolls off of the die
- Quickly: remove aluminum foil from beaker
- Quickly: dump solder out of beaker
- Aluminum foil works well: solder easily comes off
- Quickly: pickup die with tweezers and drop in PTFE beaker
- If you aren't quick enough die will stick to tweezers (rosin is solid when not hot)
- Remove it by soaking and/or sonicating tweezers in beaker with acetone
- Sonicate die with acetone for 3 minutes
- Change acetone
- Sonicate die with acetone for 3 minutes
- Inspect die for undissolved gold (usually shows as silver solder lumps on bond pads). Repeat procedure if sufficient quantity remains
- When done properly all gold should be removed
- Place die back in storage vial
Notes:
- Do not heat solder more than necessary: higher temperatures will cause flux to burn instead of melt
- Clean glass beaker with sonicated acetone when done
- Use enough solder to comfortably cover the die but you only need enough paste to flux/start it
- Also experimented with heating in Al foil but beaker method gives much more repeatable, safer result
- Do not do anything that would rapidly cool the beaker or die
- I cool the beaker with forced air
- Grabbing hot die will warp tweezers. Use dedicated pair
Al foil
Idea was to encase die in paste and fold it into aluminum foil. Then heat it strongly and remove the cleaned die. However, the foil can scratch the die and does not give repeatable results. Although this method is quicker, the beaker method above is more thorough and less prone to damage
Soldering iron
NOTE: not recommended since its much more work and easily scratches die
By repeatedly adding solder to dissolve gold and then removing the solder the gold is dissolved and eventually removed.
Procedure:
- Reduce bond wires to stumps by carefully bending back and forth with tweezers
- It should take 4 or 5 bends
- An inspection microscope will help
- Don't pull, you'll risk ripping out silicon
- Place solder paste on bond areas by dragging a solder paste drop across the padframe. An inspection microscope will help
- Heat solder paste by bringing soldering iron close to chip. Bond wires should now be tinned
- Place a larger drop of solder paste on the chip and heat. Drag the soldering iron past the edge of the chip (but not on top as it would cause damage) such that solder is forced on top of the chip but is still attached to the iron. As it moves back and forth it should heat the gold and dissolve it
- Repeat until all gold is removed
Mercury-gold amalgam
At least at room temperature (and I dare not heat it) it performed much worse than the solder paste method. Even after soaking die for an hour I could not completely remove all the gold. I sonicated it in water which removed the liquid element but left behind a solid gold-mercury mixture.
Advantages:
- No fluxing required: much cleaner
- Room temperature: no risk of thermal damage
Disadvantage
- Mercury health risks
- Difficult to completely remove gold
- Dissolves gold slower than hot lead

