This is an old revision of the document!
Table of Contents
Prereqs
You'll of course need inkscape installed
You'll need an image. .png's work, probably other formats too. It should be as straight as possible. Use a tool like the Gimp to correct rotation if necessary. It should be straight enough so that a line from top/bottom or left/right is straight enough for your purposes.
This assumes that you have a 90 degree routed sample. You'll have to make tweaks but nothing major for something not of that nature.
I am as of the time of this writing us a mix of Inkscape 0.47 and 0.48.
Configure inkscape
Launch Inkscape and lets get started
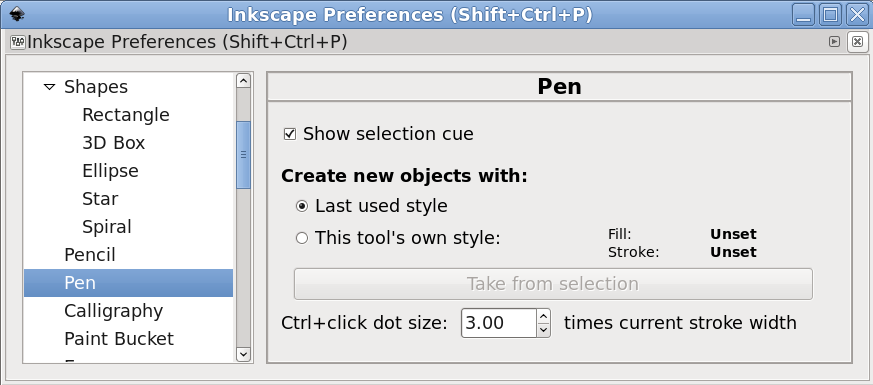
Edit ⇒ Preferences
- Pen: Create new objects with: Last used style
- Shapes: Rectangle: Create new objects with: Last used style
Without this every time you create a new polygon you'll have to keep re-selecting things.
Create a new document
And save it somewhere.
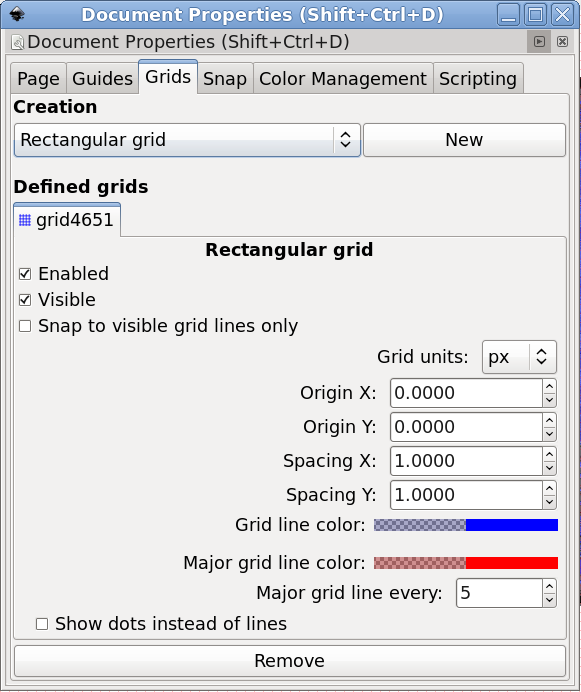
- Grids: Spacing X: 1.0000
- Grids: Spacing Y: 1.0000
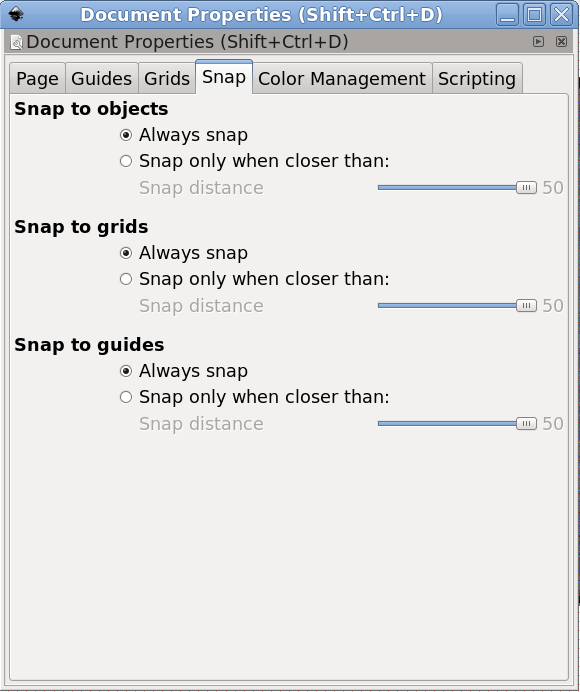
- Snap: Snap to grids: Always snap
Without this it will be difficult to get polygons to line up predictably.
Add an image
Create a new layer to store the image.

As a workaround save and close. Open up a text editor and find the layer you just inserted. Make it look something like this:
<g
   inkscape:groupmode="layer"
   id="layer2"
   inkscape:label="background"
   style="display:inline"
   sodipodi:insensitive="true">
  <image
     sodipodi:insensitive="true"
     y="0"
     x="0"
     id="image12"
     height="9295"
     width="9515"
     xlink:href="stitch.png"
     sodipodi:absref="stitch.png" />
</g>
Save and re-open the document. You should now be able to show/hide that image as a layer. I suggest also locking it so that you don't move it around.


