Table of Contents
See the tutorials page for additional info.
Live decap millling
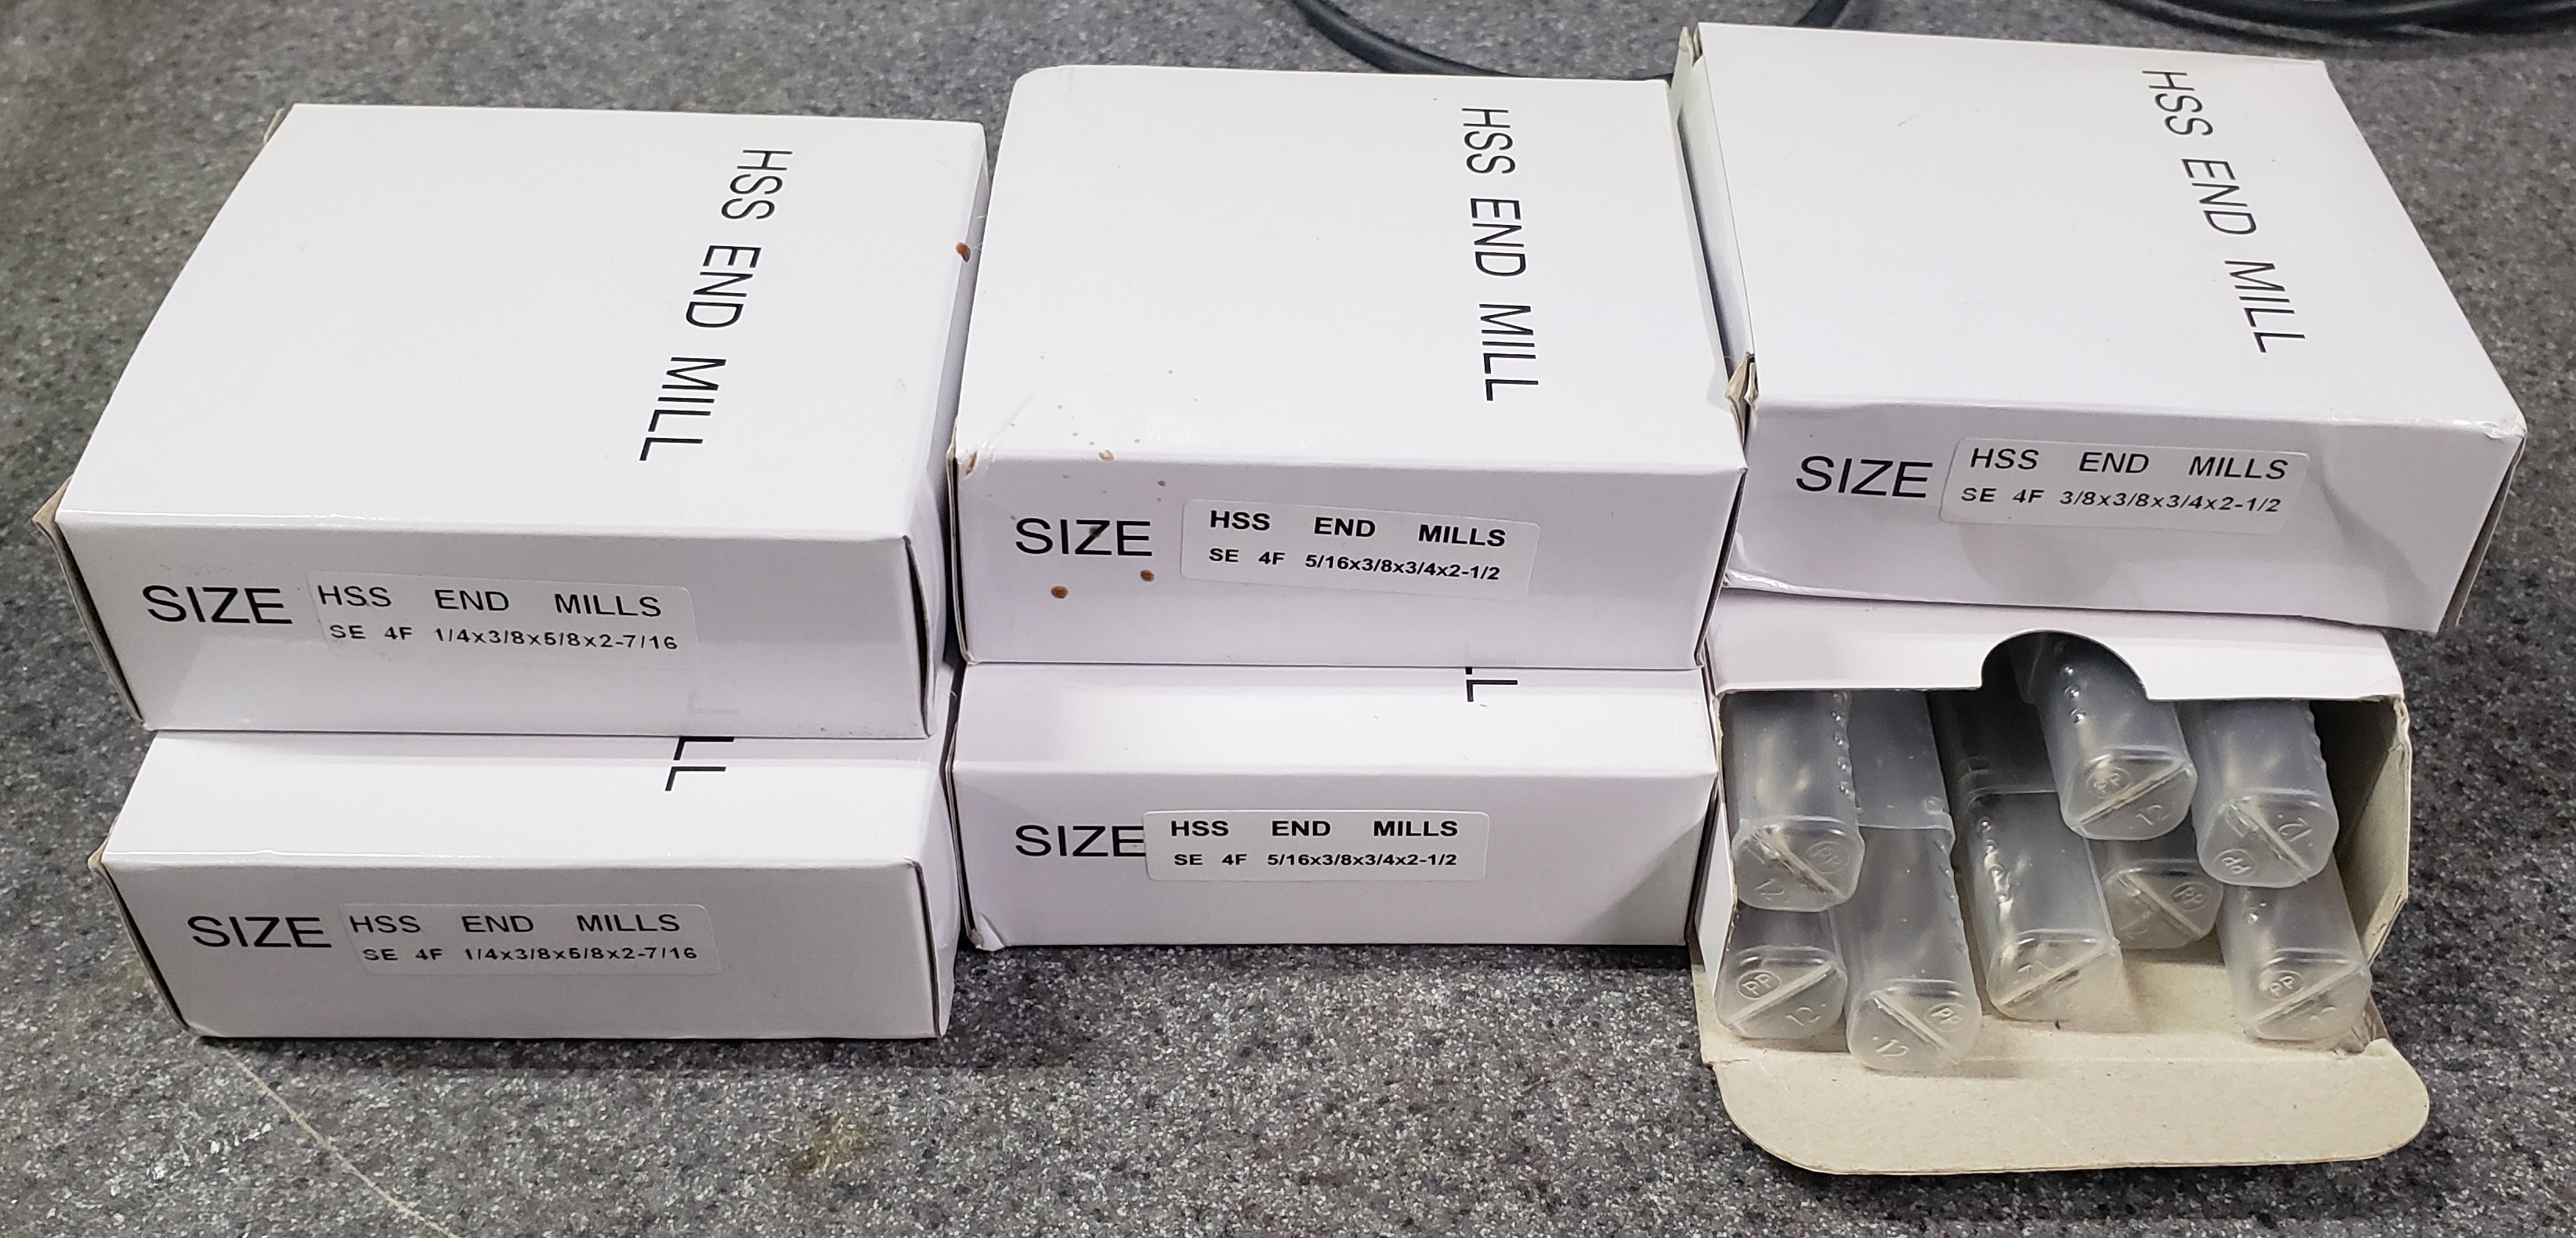
Above: HSS endmills are relatively inexpensive (above were about $3 each) and work reasonably well. They may be a better option than more expensive endmills that last slightly longer
2021-12-29: McMaster has recently been using RFNA (instead of WFNA) which seems to be much faster on epoxy. Fast enough that I'm no longer pre-milling chips. This tends to be faster overall and removes risks of milling (damaging bond wires, etc)
General recommendation for pre-milling packages
| Package | Pin pitch | Package thickness | Package width | Package length | Depth target | Endmill size | Notes |
|---|---|---|---|---|---|---|---|
| PDIP8 | 0.3“ | ||||||
| PDIP18 | 0.3” | 0.13 | 0.25“ | 0.030 to 0.035 | 3/16 (0.1875)” | ||
| PDIP28 | 0.3“ | 0.13 | 0.27” | 1.39“ | 0.030 to 0.035 | 3/16 (0.1875)” | |
| PDIP28 | 0.5“ | 0.15 | 0.035 to 0.040” | 3/8 (0.375)“ | |||
| PDIP40 | 0.5” | 0.15 | 0.035 to 0.040“ | 3/8 (0.375)” | |||
| TO-99 | Ceramic: 0.11 Epoxy: 0.07 peak | 0.31“ | 0.018 to 0.023” | 1/8 (0.125)“ | UL914 “30 mil down just cut one bond wire” Pins leave about 0.16” center area. However, die is not centered, maybe 0.08“ actual center area ⇒ 1/8” endmill works well old note: “epoxy layer at its thickest is about 1.6 mm” ⇒ 0.063“, maybe be more careful on depth? |
Don't cool the bit. Heat weakens epoxy. You will go through bits relatively quickly. Carbide bits do last longer, haven't figured out yet if they are cost effective. Be sure to replace a bit if its not cutting well.
Update: I started losing some chips after switching from carbide to HSS. HSS required significant pressure and heat vs carbide and it seems that it caused some bind wires to rip off of the pads. With this is mind, I now would say only use carbide. Possibly could use coated HSS.
Cut to depth by monitoring how deep (using calipers) your cut is. If you need to remove the IC from the mill, make sure placement is repeatable. I do this by sliding the chip in from the end of the vice using a flat surface.
I find on most chips I need to press about 0.010” beyond the surface on most parts to cut
Chips requiring special handling:
- Some old intel IC is off center
- A few chips have higher bond wires than typical
Suppliers:
- 1/8 / 3 mm
-
- 1PCs 1/8
x1/44 Flute End Mill Cutter Milling Slot Drill Bit HSS - 2019-12-26: qty 10 for $20.93 shipped ($2.09 each)
- 5Pcs/Pack Carbide Flat End Mill 4-Flute Mentalworking CNC Tool 3mm Cutting Dia
- 2019-12-26: qty 5 for $15.25 ($3.05 each)
-
- 3mm Carbide End Mill 4-F CNC Milling Cutter Bit 3*4*50L 55° VHM coating *5pcs
- 2020-09-06: qty 15 for $43.24 ($2.88 each)
-
Copper bond wires
TLDR: use a 2 part WFNA : 1 part sulphuric mix. Favor lower temperatures
Copper is passivated by making CuNO3 insoluble in solution. Generally people seem to have the best results using H2SO4 to keep the solution very dry
Nitric acid (pure)
Nitric acid under many circumstances will rapidly attack copper bond wires. Therefore, care is required when decapping a part. This section applies equally well to protecting exposed leadframes.
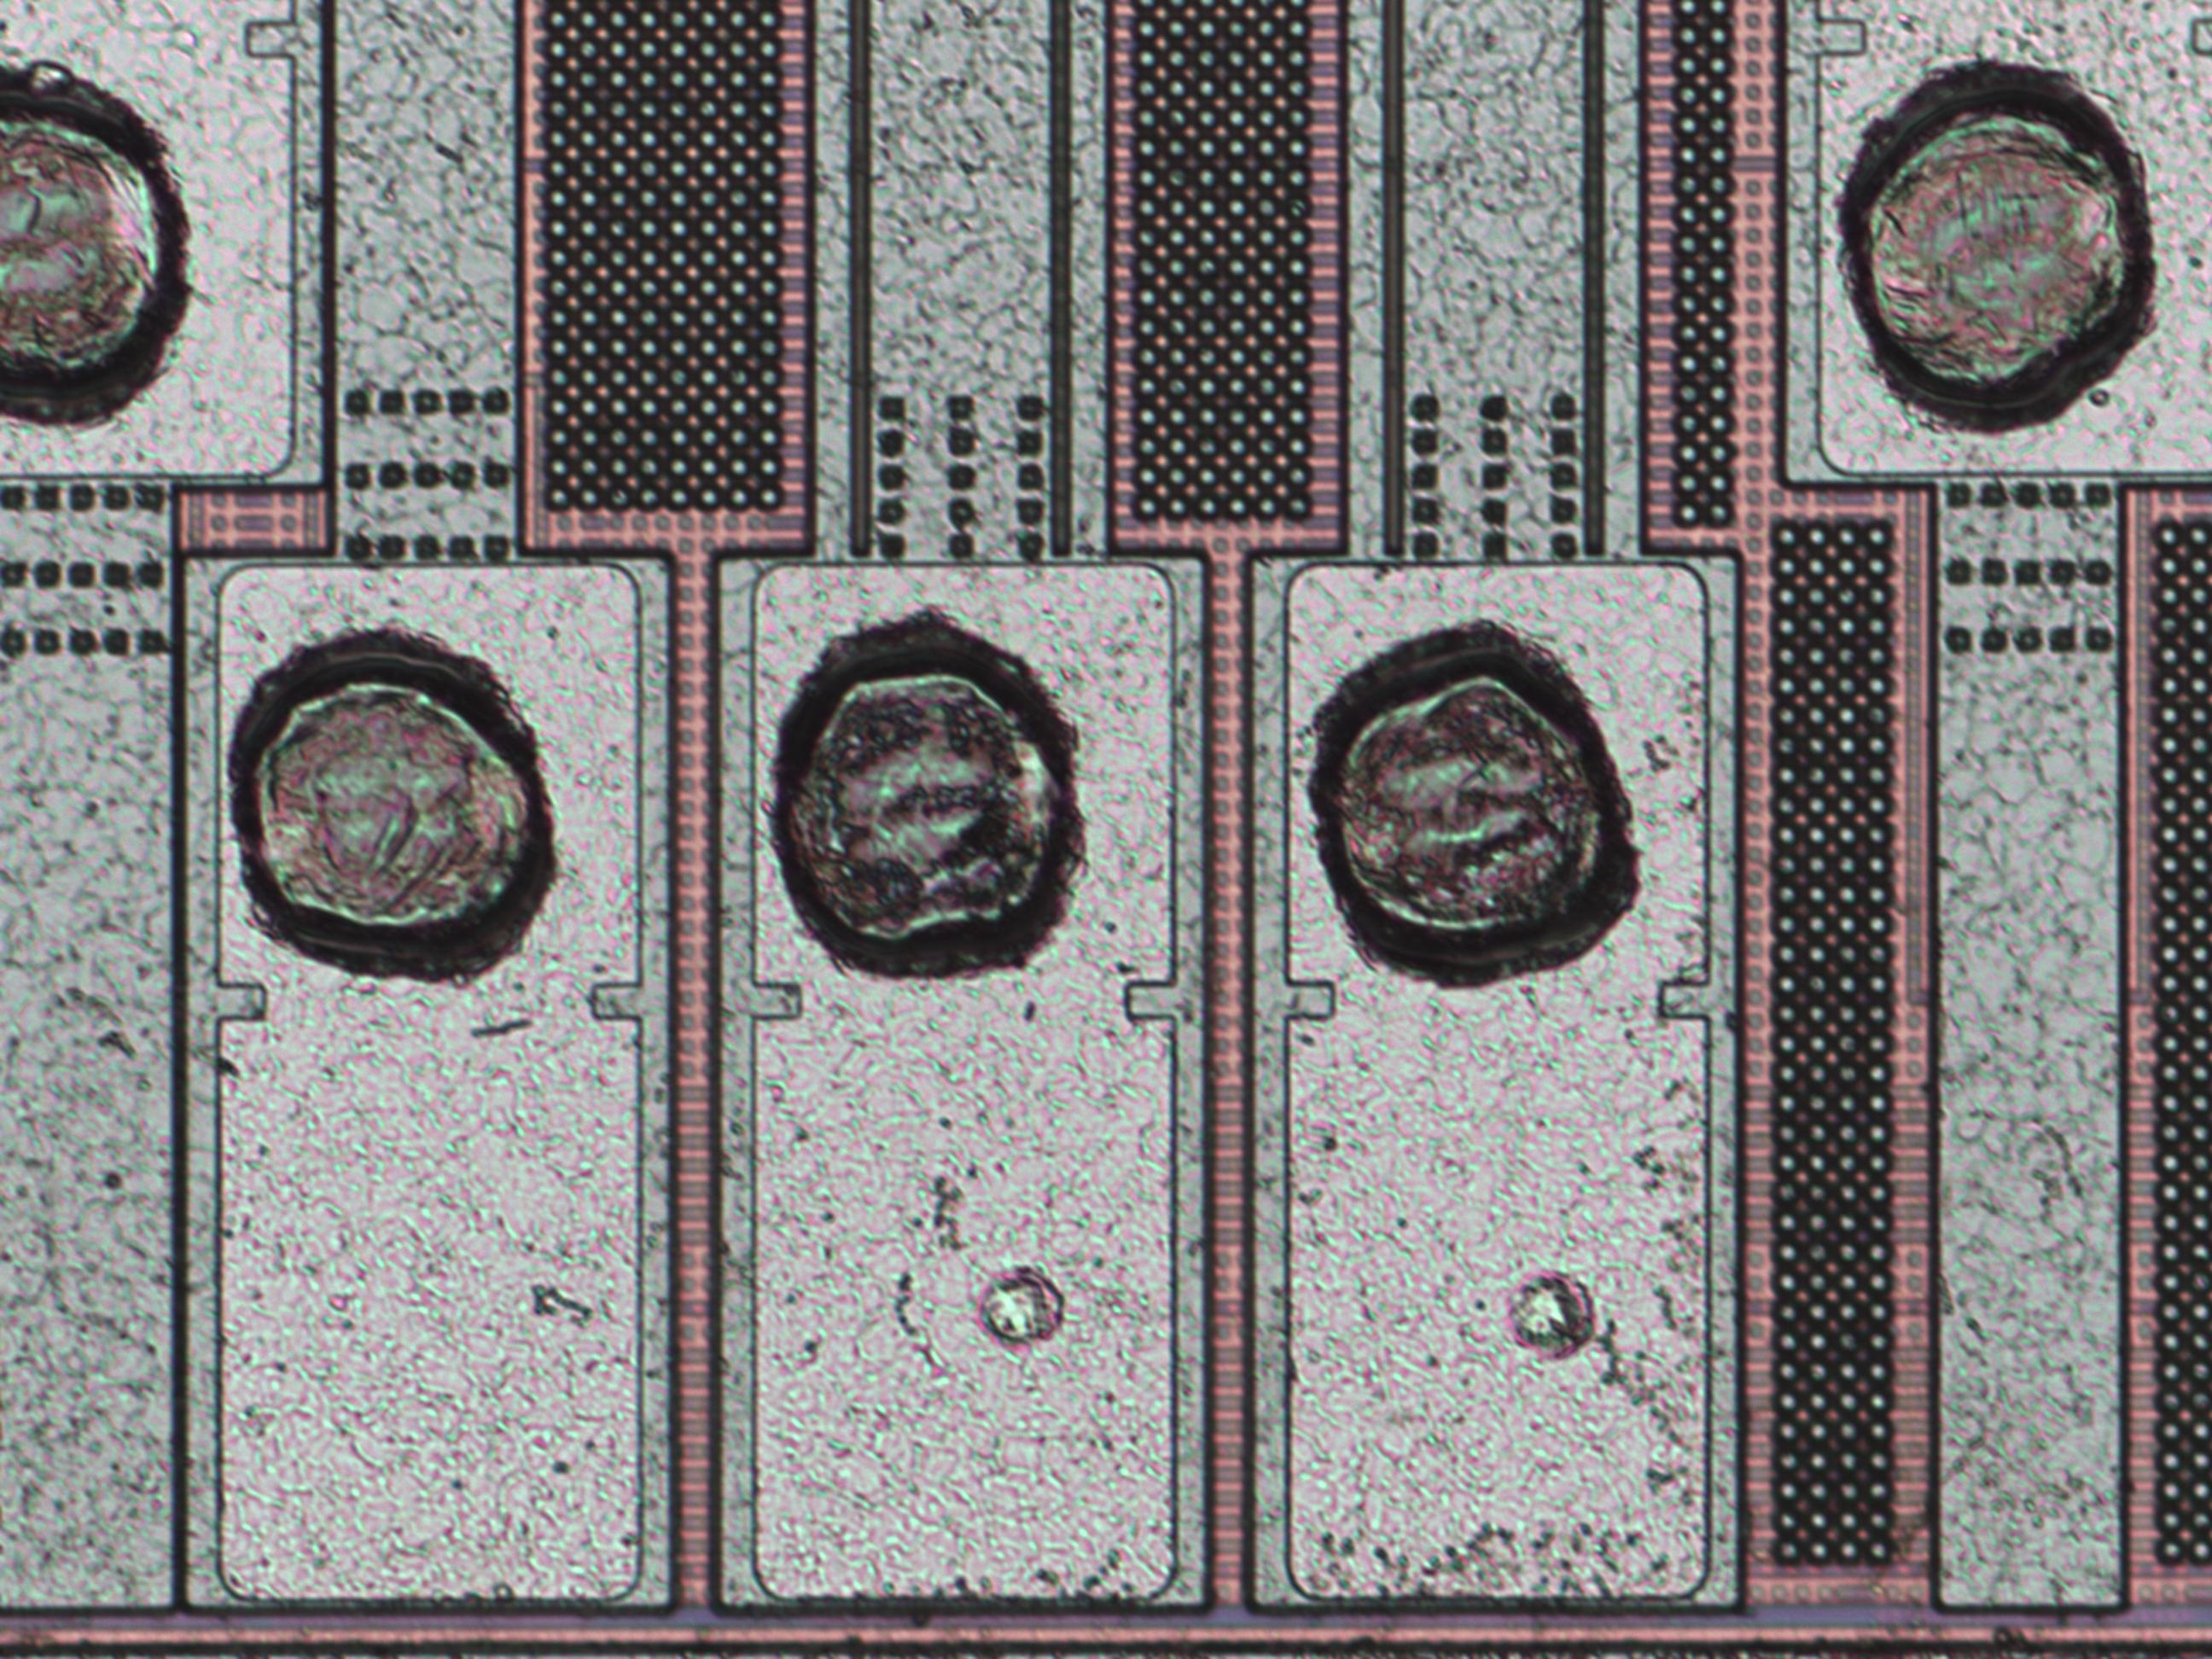
Above: copper wires dissolved after decapping with RFNA (90%). Note the bond pads are intact. Great for rebonding or imaging, but bad if you want to keep the original packaging.
High concentration nitric acid (ie WFNA, say 80%) does not appreciably dissolve copper. However, lower concentrations (say 60%) dissolve copper rapidly. This is caused by copper nitrate forming and passivating the copper (reference).
General advice seems to be to keep temperature low, ideally working at room temp or lower. [CDCA] suggests using 10C.
2018-02-26: mcmaster tried normal decap procedure with RFNA with relatively short heat cycles and it destroyed the bond wires, although somewhat slowly. Definitely not something I'd try on something I care about
Nitric acid mixtures
“The use of a 9:1 or 2:1 (HNO 3 : H 2 SO 4 ) mixture is recommended for parts with copper bonds or copper lead frames.” [https://escies.org/download/specdraftapppub?id=3144]
Suggestion to pre-saturate acid with Cu ions, ie copper nitrate or sulfate
2018-02-26: mcmaster tried satured copper sulfate solution and it did not help. Bond wires were dissolved, and at about the same rate as using RFNA
Suggestion to electrically bias copper. Sounds like azonenberg did not get good results doing this
azonenberg used WFNA, H2SO4 mix with good results
mcmaster solution that worked was something like
- 4 WFNA : 1 H2SO4
- Relatively lower temperature (maybe 70C)
- Didn't try tuning process
https://duo.com/blog/microcontroller-firmware-recovery-using-invasive-analysis
- Mix
- 70% nitric acid
- 98% sulfuric acid
- Room temp chemicals, left to cool after mixing
- Let sit 20-30 min
- Rinse with acetone and repeat
- Gave excellent results
2018-04-29: someone reported
- 69% hno3 / 98% h2so4 1:2 mixture
- Very slow
- Destroyed some bond wires
- 80 C
- Looked ok until I did an extra time through with drops of acid on die
Sulfuric acid
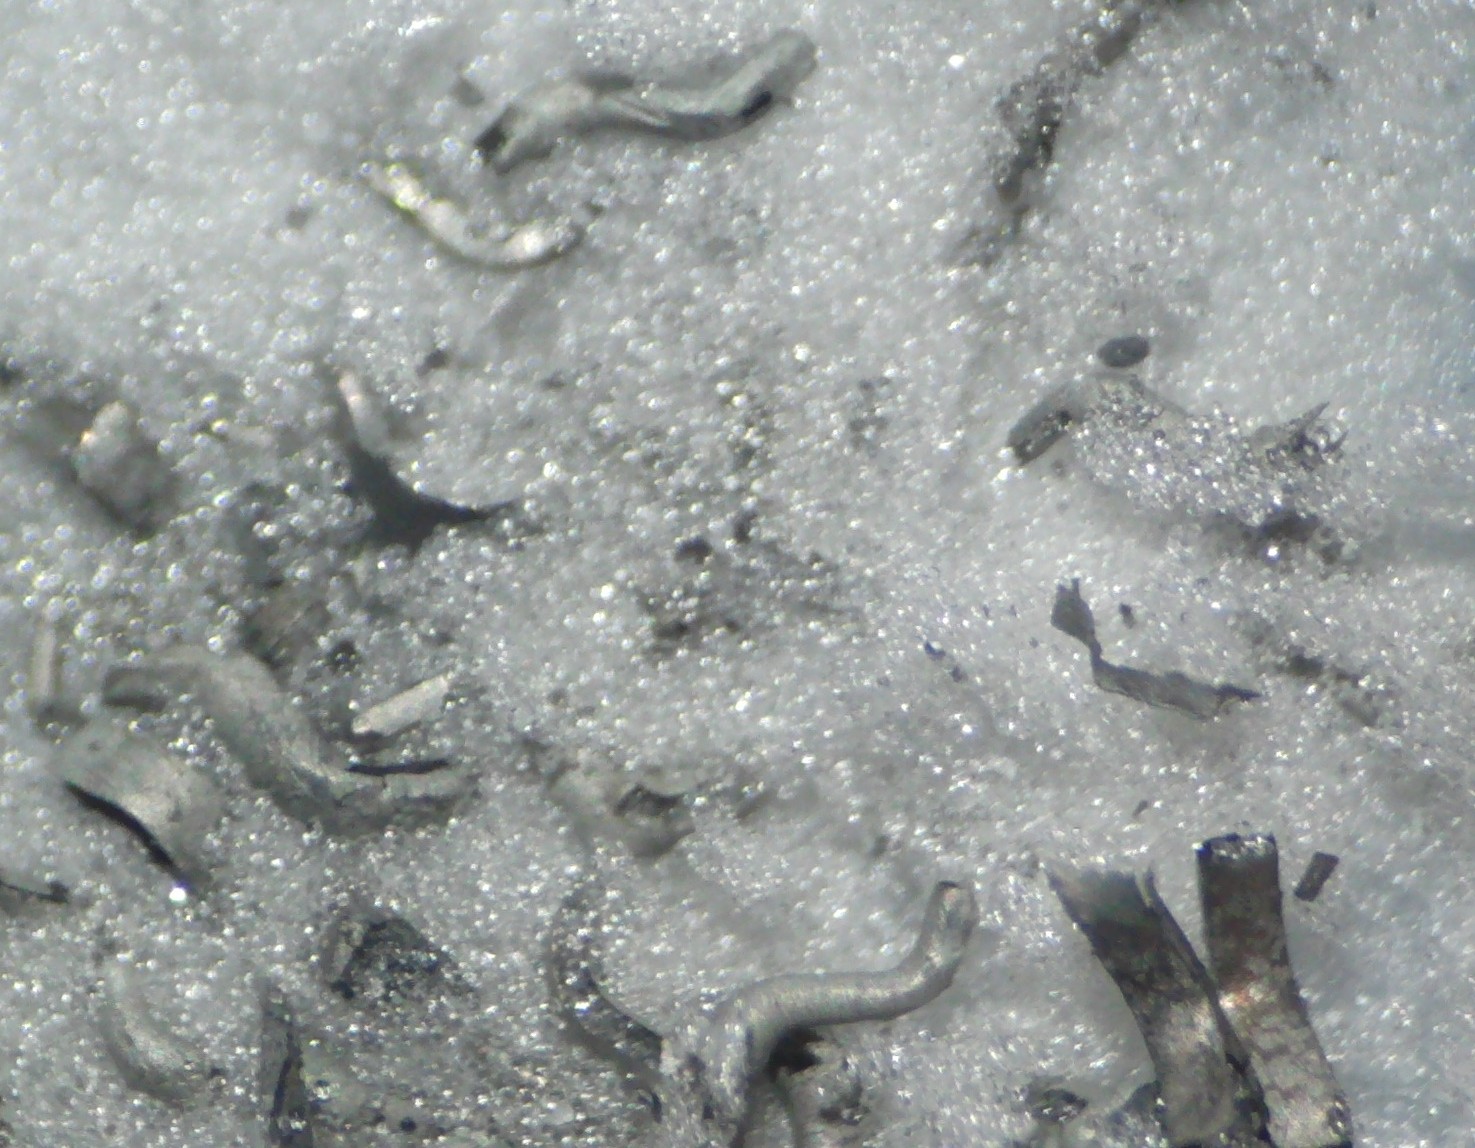
Above: pure H2SO4 decap has left these Cu bond wires intact
On the other hand, H2SO4 will slowly dissolve most metals. If you can tolerate a slight bit of corrosion, H2SO4 might be a reasonable solution.
Misc
[CDCA] presentation on general decapping has some tips
JM live process overview 2016-12
For PDIPs such as PDIP-40, PDIP-28
Pre-mill
- Select endmill
- Size? Think 5/16 but need to verify
- I use a cobalt endmill. I found HSS was wearing out relatively quickly. But maybe I was just running too slow
- Select speed
- Run at high speed dry. I tried low speed cool, but its better to run at high speed to soften the epoxy
- Mill down to about 0.04“, say 0.038 - 0.042” target
- I mark when I just start to hear the bit chatter. Then slowly go down 55 mills (0.055“), maybe 2 mills per second. Measure with micrometer and mill down the difference, repeating until at target depth
- Typically bond wires start around 0.05”
- If you just hit bond wires, they are probably fine. The package holds them in place and can take a little off and still be strong
Decap
- 9 WFNA : 1 H2SO4 solution
- Recommended in failure analysis books to reduce metal corrosion
- Heat up hotplate to around 100 C
- Me: setting 4. About 15 min to reach temperature
- Loop
- Place chip on hoteplate jig
- I use a heatsink such that chip body is in good thermal contact by resting on the fins
- Wait for any solvents in cavity to dry
- Failing to do so may lead to violent reaction
- Immediately place acid into cavity, filling up to top or slightly over-filling
- Doing this cold reduces thermal stress
- Filling to top reduces inverted mushrooming in cavity
- Acid will turn orange as NO2 evolves, and then black as it calms down. It will soon foam up
- Before / as it foams up, place it in acetone beaker and waft it gently for 3 seconds
- Squirt acetone into cavity, cleaning out yellow residue
- Shake chip dry for 3 seconds
- Optionally, gently blow dry out with duster
- Slightly speeds up process
- Observe bond wires, die
- If the die is showing, do at least one final pass to make sure surface is clean
- For final pass, suggest doing smaller runtime. In particular: solution just starts turning color as opposed to dark orange or black
- Waft chip in clean acetone beaker
- Use this for the next “dirty” acetone beaker
- Optional: gentle acetone ultrasound
- Some chips are sensitive enough that they must be very residue free
- Squirt IPA into cavity
- Gently blow out with duster
- Place on hotplate for a short bit to bake out any remaining moisture
Notes:
- If you start to decap and bond wires are not centered in package, stop
- Ex: Intel 8041AH is slightly lower than center
- Of course you should just mill a bigger / correct cavity if you know this before
- Proposed procedure
- Note the real die position
- Fill cavity with a small bit of nail polish
- Very carefully mill a larger cavity
- Either visually check height or very carefully use micrometer at extended cavity edge, being sure not to touch bond wires
- Non-contact methods preferred
- Now go back to decap. It may not decap completely even, but should be much improved result
JM WFNA process overview 2015-04
For most packages (ex: a PDIP) I do the following
Photographing and labeling chips
- Pick out a container with label (A1, A2, B3, etc) and photograph the label
- Photograph top and bottom of chip
- Place chip into container
- Repeat for all chips to be decapped in this round
This allows me to quickly record chip details and later associate dies to chips
Decap prep
- Dremel down the package to just the die, paddle, and surrounding epoxy (“cubing”)
- Details: see below
- Use H2O2, HCl to eat out the paddle
- Details: see below
Decap
- Place labeled container into color coded beaker
- Weigh chip assembly
- Place chip into matching color coded Oak Ridge 3114-0030 30 mL FEP centrifuge tube (heat resistance and soft/gentle on dies)
- FEP melting point: 500 F
- Use 3mL PP pipette, transfer min(1.5 mL weight * 1 mL / g) WFNA into tube
- Using smaller amounts interferes with heat regulation
- Place tube into VWR 14005-824 Vortexer
- Has an adapter that fits my tubes nicely, not sure if its standard
- *loosely* tighten cap onto vial
- Allows pressure to escape while mostly recirculating acid vapor
- Set Steinel HG3002LCD temperature controlled heat gun to 200F
- Reads in F which is why temps are in F here
- Actual sample temp is about 180F
- Higher temperatures will decap faster but cause acid to break down faster
- Place heat gun into vice to point at tube in vortexer
- Turn on heat gun and immediately start vortexer
- Let run for 4 minutes (watch vortexer timer)
- May need to adjust depending on epoxy type, size, etc
- Remove tube from vortexer
- Optional: put tube with a different chip onto vortexer and start timer
- Keeps pipeline saturated while I process this chip
- Dump tube into 100 mL PTFE beaker. You must dump it quickly so that the chip flows out with the liquid
- WARNING: this will put off a lot of acid fumes
- Carefully pour the acid back into the tube, taking care not to let the die fall back in
- If you mess up either step just pour the acid back in and try again
- Squirt/pour a *generous* amount of acetone into the beaker (small pool / should be at least 20x the volume of acid remaining)
- Will cause more fumes
- WARNING: nitric acid can react violently with acetone but takes a while to heat up
- Contrast with alcohol which will rapidly explode
- As long as you pour a reasonable amount of acid in this is pretty safe
- Even if you don't do this correctly mostly it will just produce a big NO2 cloud
- Visually inspect die (under a microscope if you wish) to verify epoxy is gone. If you need to do more decap
- Recommend replace with fresh acid (1.5 mL min)
- Do at least 2 minutes
Removing bond wires
- Place die in 18 mL PTFE test tube
- Squirt alcohol dilluted solder paste into tube
- Place tube into vortexer
- Heat to 500 F
- 63/37 MP: 360 F
- PTFE MP: 620 F
- Put a bright light behind tube to observe
- Vortex for 4 minutes
- Might take a minute or two for solder to melt
- Watch to make sure die doesn't stick to side
- Place 12“ square PTFE mat down
- The following steps must be done in rapid succession
- Remove tube from vortexer
- Shake out contents onto PTFE mat
- Using some light force causes die to separate from solder
- If it does not separate, do not attempt to un-wedge it. Re-heat and try to re-separate
- Pick up die with carbon fiber (eyebrow…) tweezers
- Don't use expensive tweezers, this will mess them up a little
- Place die into 100 mL PTFE beaker, shaking beaker the whole time to prevent die from sticking
- Squirt acetone into beaker
- Sonicate die to remove resin
- It will take a very long time without ultrasound
- My ultrasonic cleaner is broken, a quick piranha etch seems to work almost as well but I'm afraid it might eat the metal
Misc notes
I color code beakers and other containers to allow me to pair samples during preparation. This system makes it hard to mix up dies as you have to make two mistakes before a die is mixed up.
I put kapton stripes (more heat resistant) on vials to keep track of samples. Optionally, colored electrical tape under kapton seems to work reasonably well for high temp color codings.
Number one way I damage dies is occasional tweezer slips. Favor pouring dies over picking them up when possible
See also: http://siliconpr0n.org/uv/mixtures.ods
Nitric acid
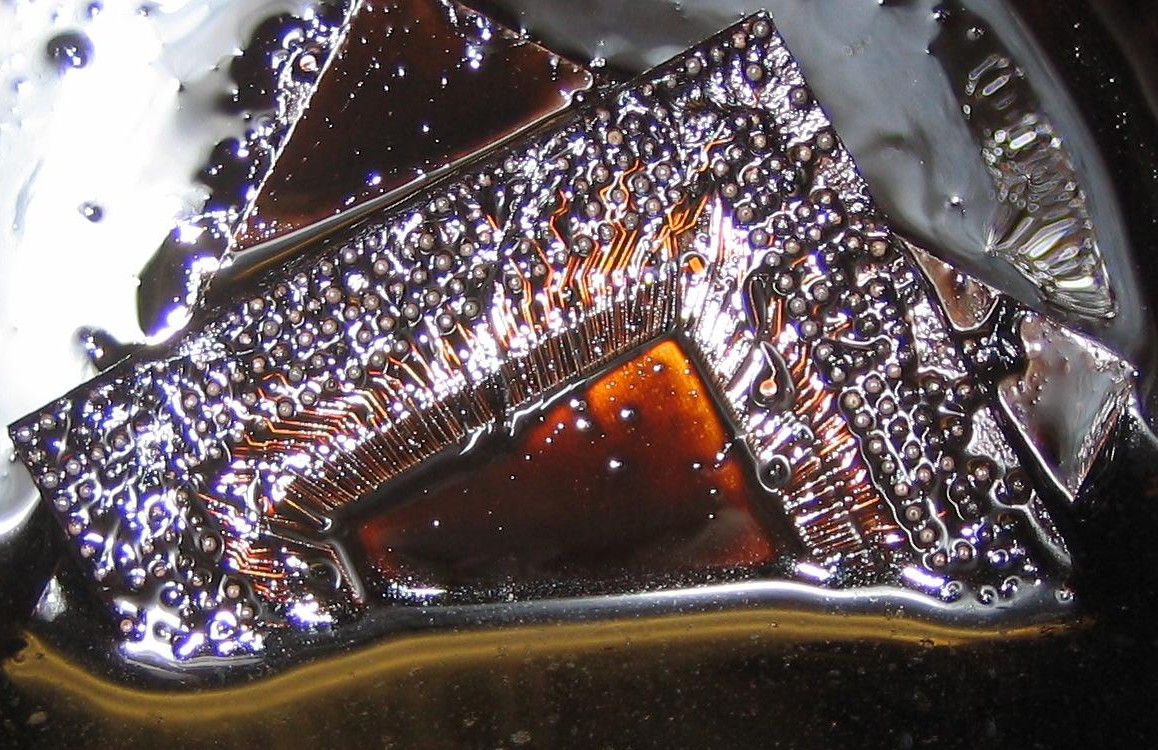
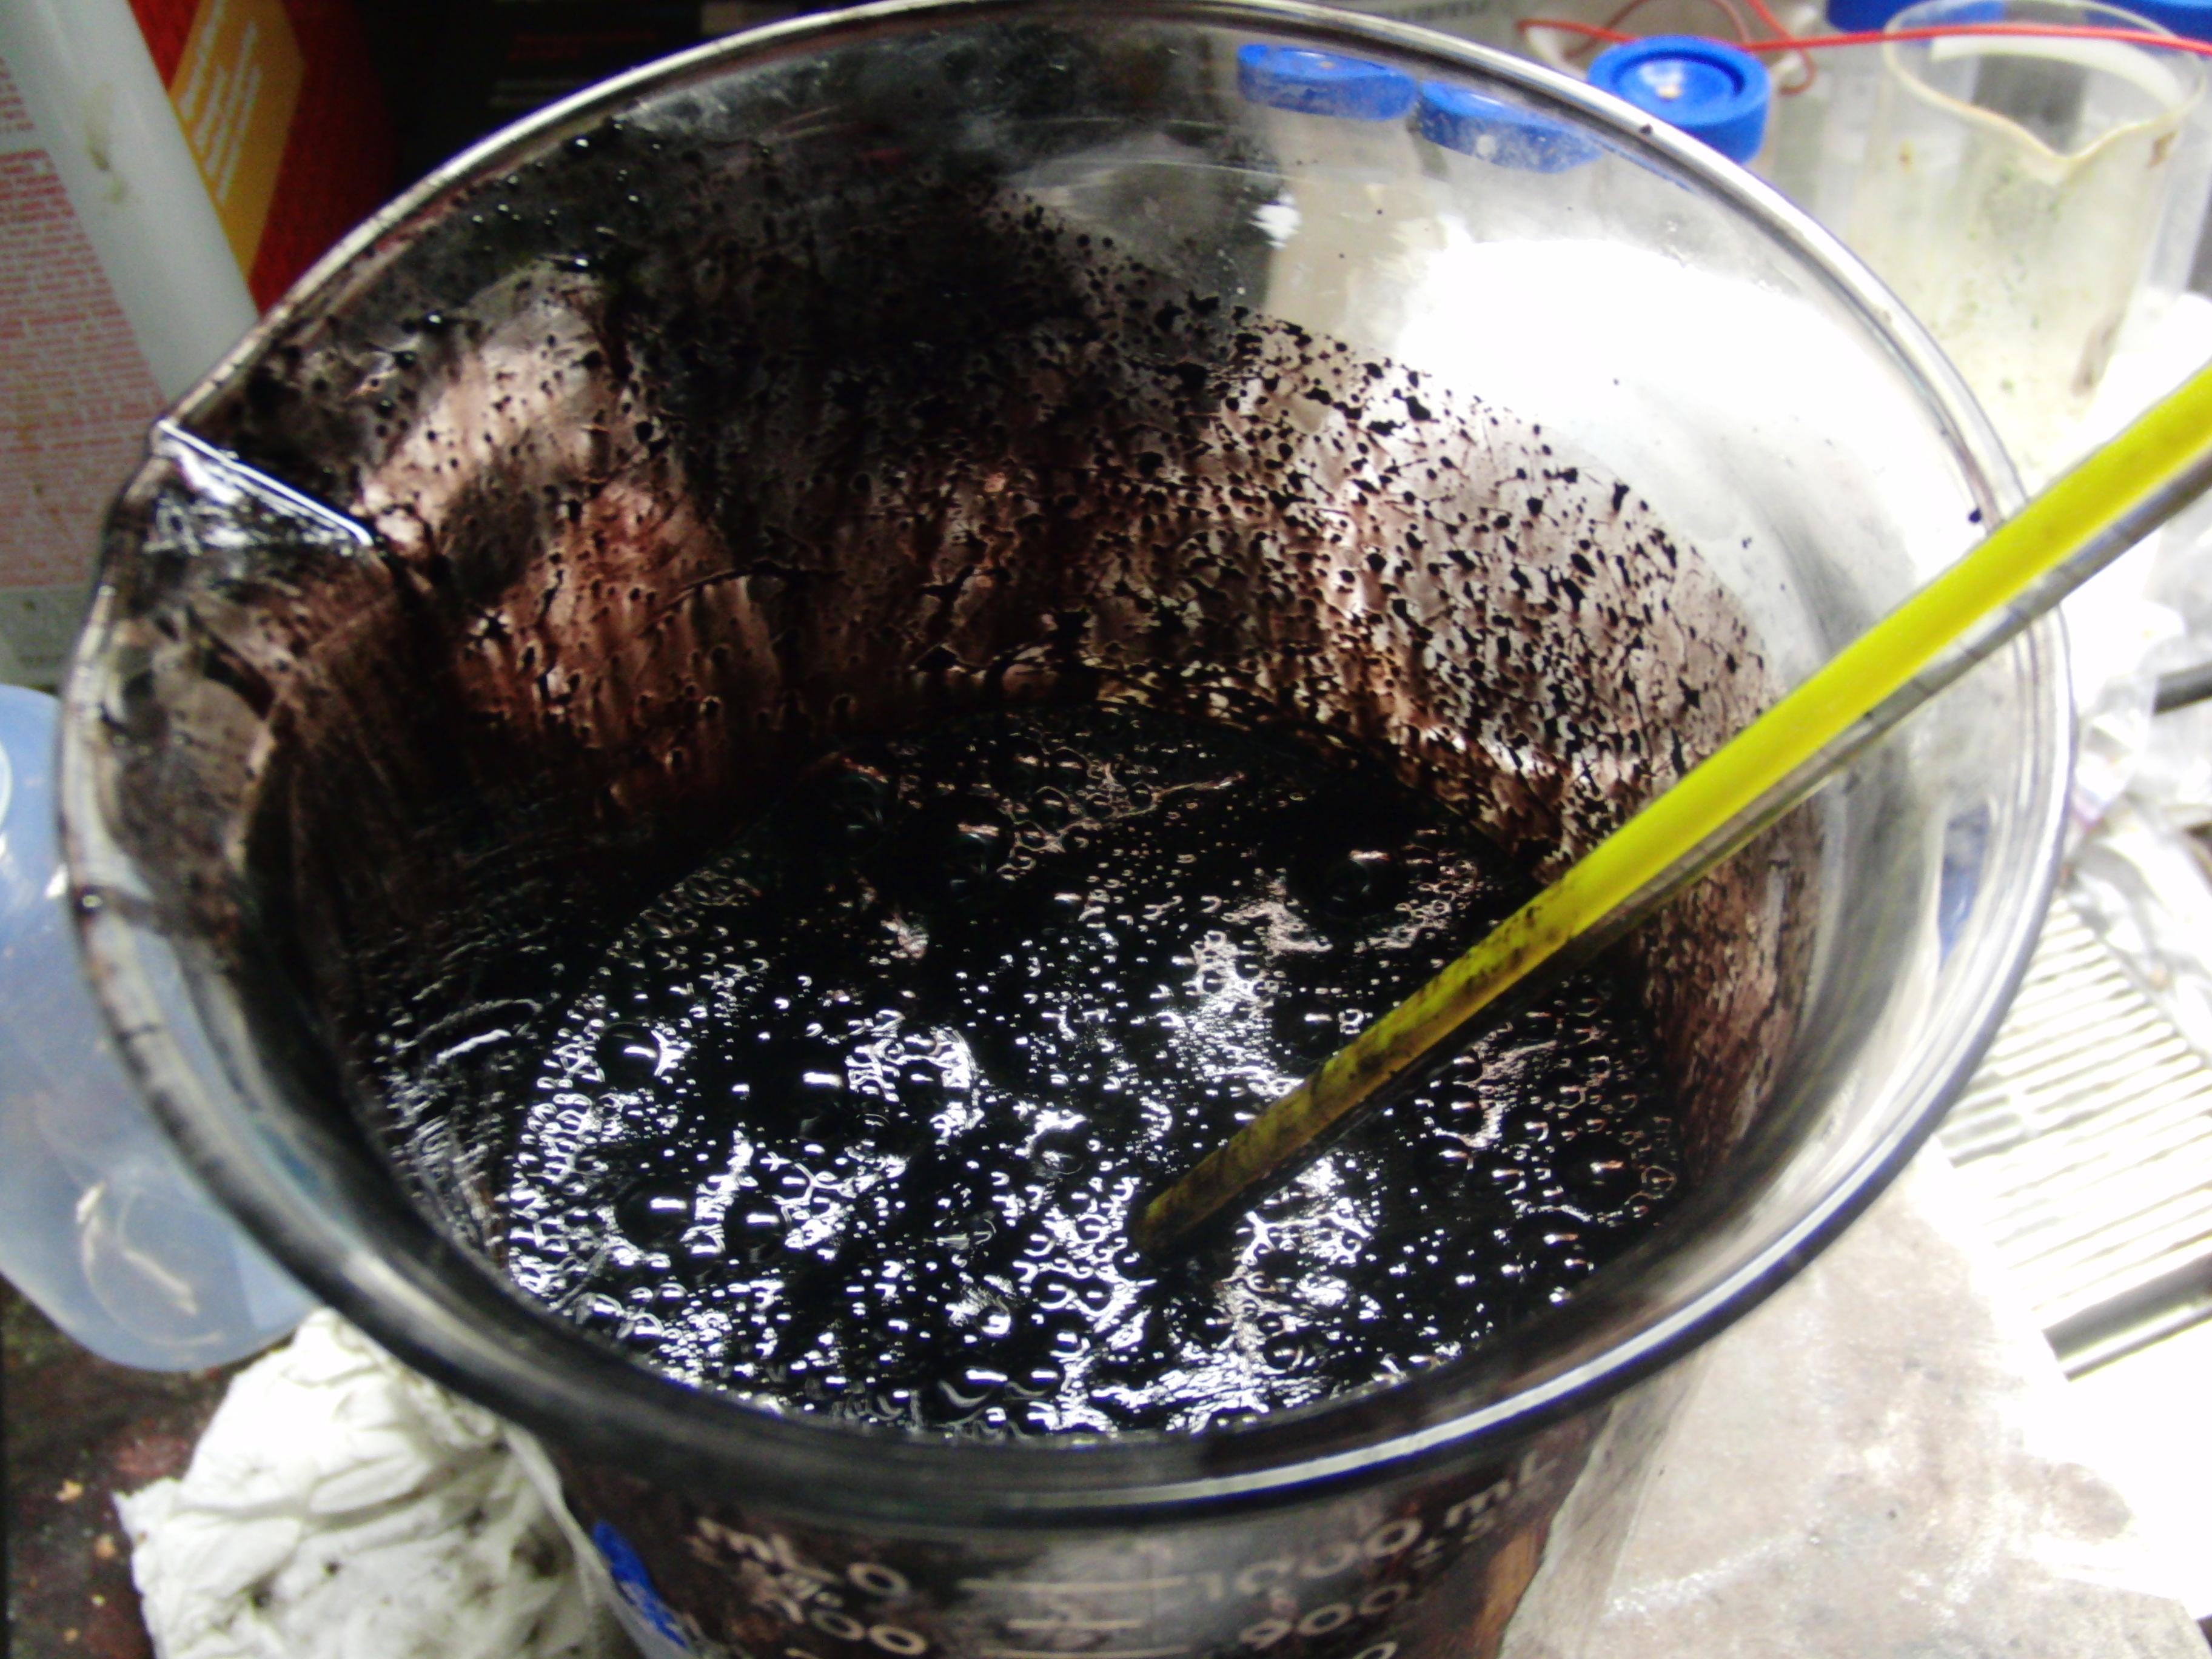
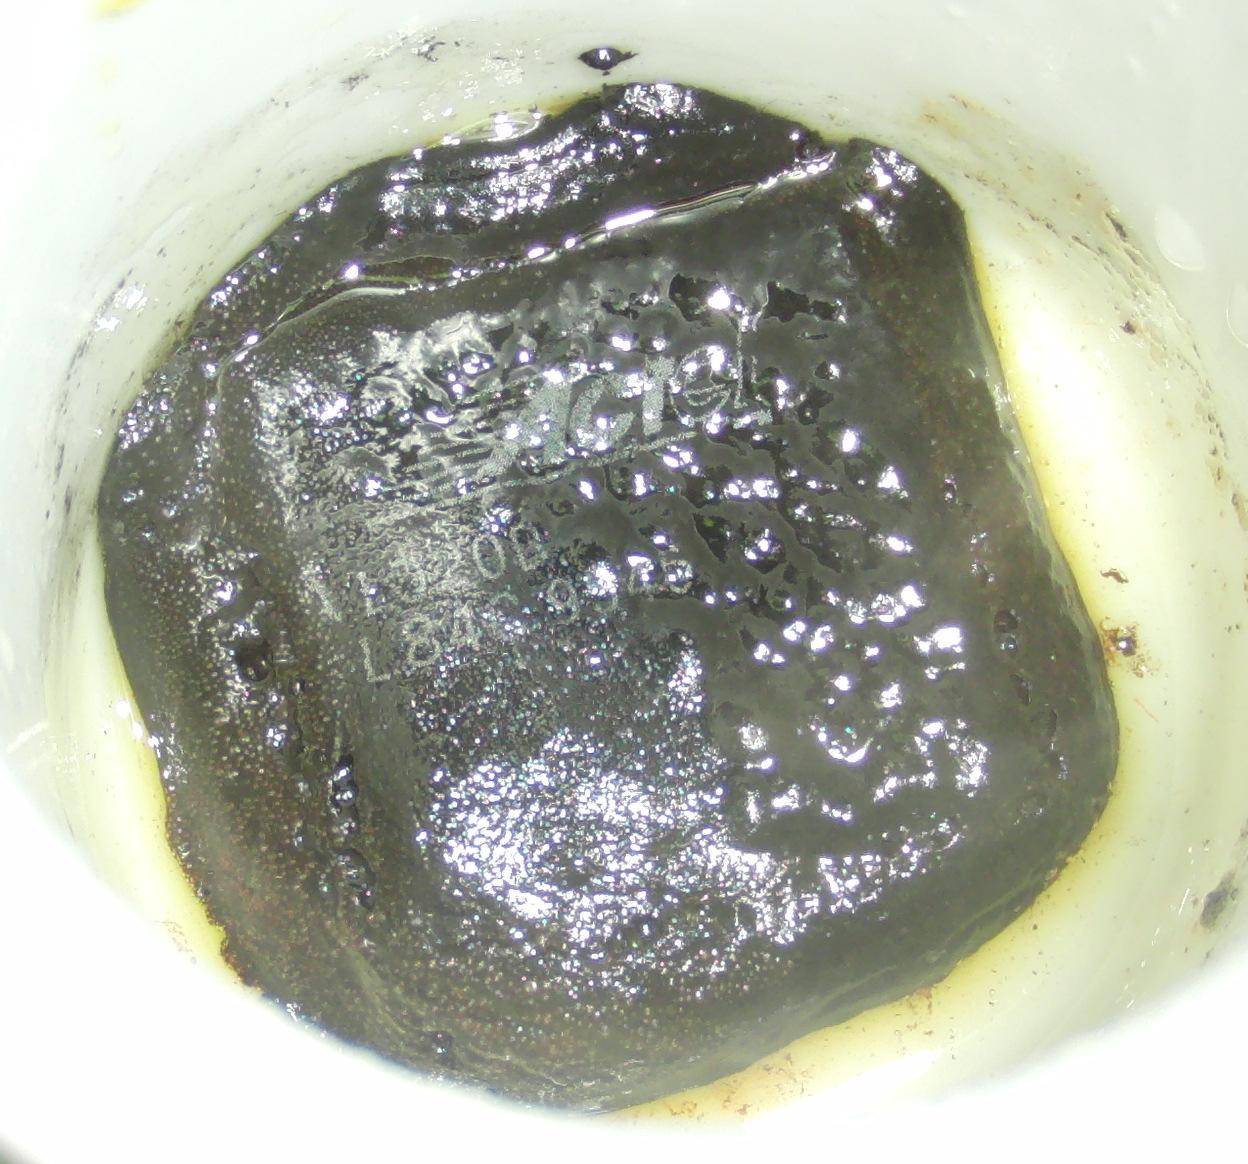
High concentration nitric acid (either Red fuming nitric acid (RFNA) or White Fuming Nitric Acid (WFNA)) can be used to decap chips at room temperature, or lower concentrations (70% or so) can decap at elevated temperatures. Higher concentrations will also decap chips faster at elevated temperatures. Above: SiO2 and metal residue leftover after using WFNA. Contrast with 70% which tends to eat all the metal (including part of the chip!) and H2SO4 which leaves black tar.
HNO3 on preheated chip
Standard operating procedure for many labs. Do this if you have the acid available and are comfortable using it.
Procedure
- Optional: mill out a cavity about the size of the die
- Place IC in petri dish on hot plate
- Heat hot plate to 100C
- Place one drop of FNA (possibly mixed with concentrated sulfuric) on center of chip
- Wait a few seconds
- Remove with tweezers, rinse FNA off with acetone
- Repeat until entire die is exposed
Notes
- I use 1 mL per 1 g of chip material. This is more than is needed but works quicker and is easier to clean as lower concentrations tend to fully absorb into the epoxy
- Stronger acids such as WFNA or RFNA are preferred but 70% will also work abeit slower
- Used by Atmel's failure analysis lab according to this article
- Claimed to take two to three minutes for a mid sized TQFP
- Does not destroy pins/pads, useful for live analysis
- May be combined with mechanical abrasion / milling (grind a well in the center of the chip and place acid in well). It is suspected that Flylogic uses this method for their live analysis.
Advantages
- Well studied technique
- Techniques to make appropriately selective
- Fast
- Very suitable for preparing chips for live analysis
Disadvantages
- Diversion controlled (purchasing restricted due to drug and explosive uses)
- Significant amounts of corrosive vapor can be released, fume hood or similar is mandatory
- RFNA is expensive (can be synthesized from 70% nitric given appropriate equipment and knowledge)
- Multiple healthy/safety hazards
Media
70% nitric bath
Use this if you have ~70% HNO3 and don't mind a bare die.
Procedure
- Heat to 75-80C
- Should take at least 10 minutes for a small sample, such as a SMD die
- The epoxy will become soft. It can be gently smeared off or with general cleaning procedures or given sufficient acid will leave the die clean
- Follow general die cleaning procedures
Notes
- Higher temperatures will waste acid from it decomposing and boiling off
- Acid can be recovered for reuse if desirable. Decant or filter at low (room) temperature on a suitable material
Advantages
- Much cheaper and easier to obtain than FNA
- Somewhat safer than FNA
- Still corrosive but, for example, doesn't eat latex gloves as readily
- Less fumes
Disadvantages
- Weak nitric tends to dissolve aluminum. May be fine at 70% but concentration will rapidly drop throughout the process
WFNA/RFNA (room temperature)
Procedure
- Drop IC in a beaker with some RFNA
- Depending on the strength, size of die, etc, it should take from a few hours to possibly overnight
- Epoxy should now be soft and break away upon touch
- Follow general die cleaning procedures
Notes
- Acid can be recovered for reuse if desirable. Decant or filter at low (room) temperature on a suitable material
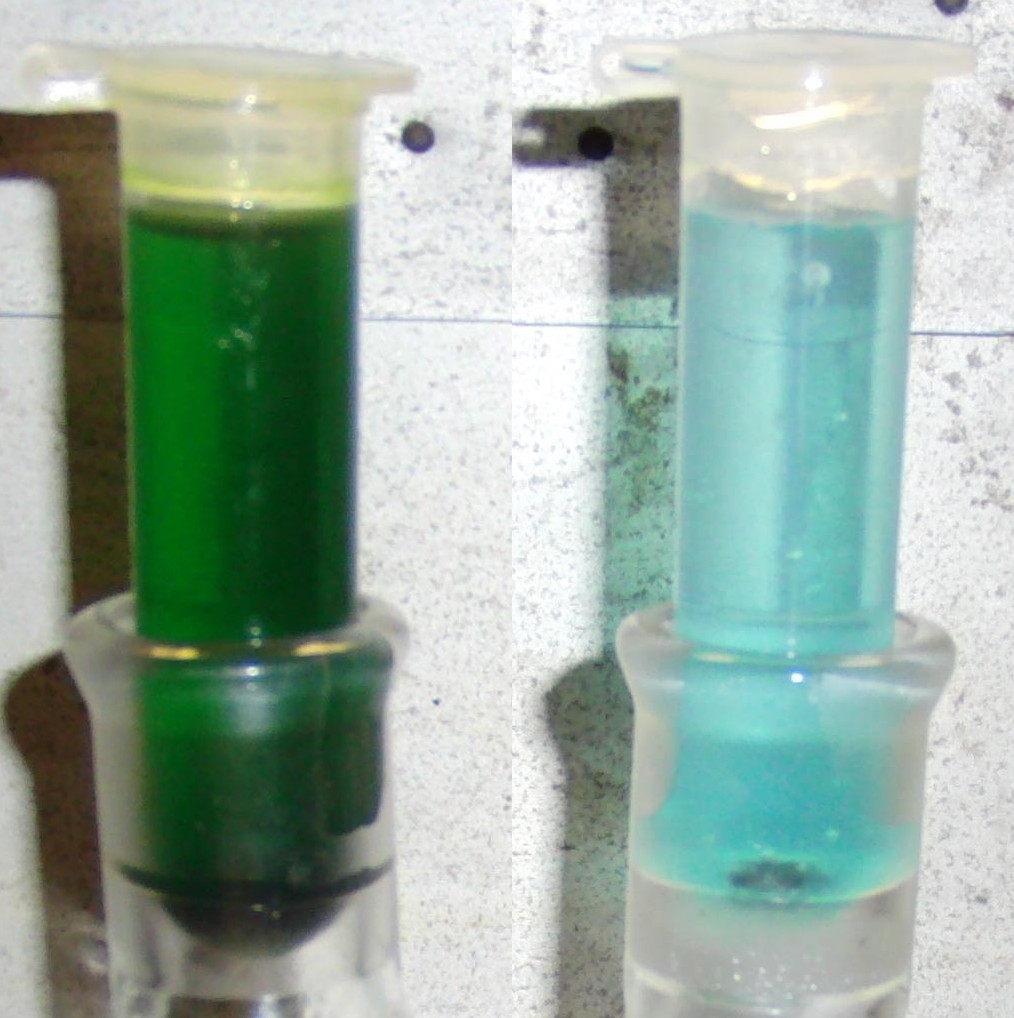
- 70% does not work. It may eat the leadframe but negligible impact on the chip. Left: RFNA, right 70% HNO3 on an identical chip after 24 hours. Not only is the 70% chip mostly intact (only leadframe gone) and the vial intact, but the RFNA polypropylene vial is also corroded.
Advantages
- Fuming is reduced since acid is not heated
- Techniques to make appropriately selective
- Makes more efficient use of acid since it doesn't decompose as much from heating
Disadvantages
- Diversion controlled (purchasing restricted due to drug and explosive uses)
- RFNA is relatively expensive and can be difficult to purchase
- However, can be synthesized from 70% HNO3 + H2SO4 or H2SO4 + KNO3 reasonably easily
- Often eats entire chip carrier, can result in bond wire damage in PDIPs and other large chips
- Somewhat slow
- Multiple healthy/safety hazards
General notes and warnings
If you need to preserve copper use 10% H2SO4 and 90% FNA. HSSO4 will help passivate the copper while the FNA will dissolve the epoxy very quickly.
Do not mix nitric acid and alcohol, see this for example. Even 70% tends to be very unstable. Acetone is somewhat more stable but also dangerous. Acetone and FNA will heat up and explode if in sufficient quantity after a few minutes. Some acetone may be an advantage to heat the chip quicker at the cost of some safety and burning up some of the acid.
Old acid may became yellow-orange from decomposition due to improper storage, such as exposure to sunlight. Typically this will not effect use much. Upon heating (with or without the sample) or vacuum it should turn clear within a few minutes.
H2SO4
96%+ hot H2SO4
Low cost technique using readily available materials.
Sample procedure
- Heat bath to desired temperature
- TLDR: 200C is a good starting point
- Cook until done
- TLDR: check every 15 minutes at 200C
- Time varies greatly with temperature, epoxy type, and thickness
- Solution opaque ⇒ difficult to monitor. You might need to pour to another container to check
- That said, probably on the order of 10s of minutes for 200C
- 350C will take seconds even for a thick chip
- Pour off as much acid as possible and then rinse chip in acetone
Notes
- Temperature
- The solution will start forming black whisps in solution when it reaches minimum temperature. Approx 150C is common
- Higher temperatures make it go faster. I use about 200C as a compromise between fumes and working time
- At about 300C fumes are a huge problem but I did decap a large plastic chip in about 10 seconds
- It may work best to reflux the acid as it will boil off rapid above about 275. I use a watch glass to cover the beaker which helps considerably and is easy
- Water severely reduces effectiveness
- Use acetone instead of water if possible
- If a chip is inspected and washed with water, wash with acetone and then bake briefly on hot plate before adding back to solution
- I put chips into a PTFE basket (drilled out smaller beaker) so that they can be quickly removed and inspected without cooling down the acid bath
- As the acid concentration drops it begins to boil up. This is extremely dangerous and can lead to boiling over
- Ideally use more acid as this will also decap chip quicker
- Using big beakers also helps, ideally 10 times as large as liquid level
- Sulphuric eats most metals, although slowly. Expect pins and such to still be in tact, but the bond wires will likely break without any support
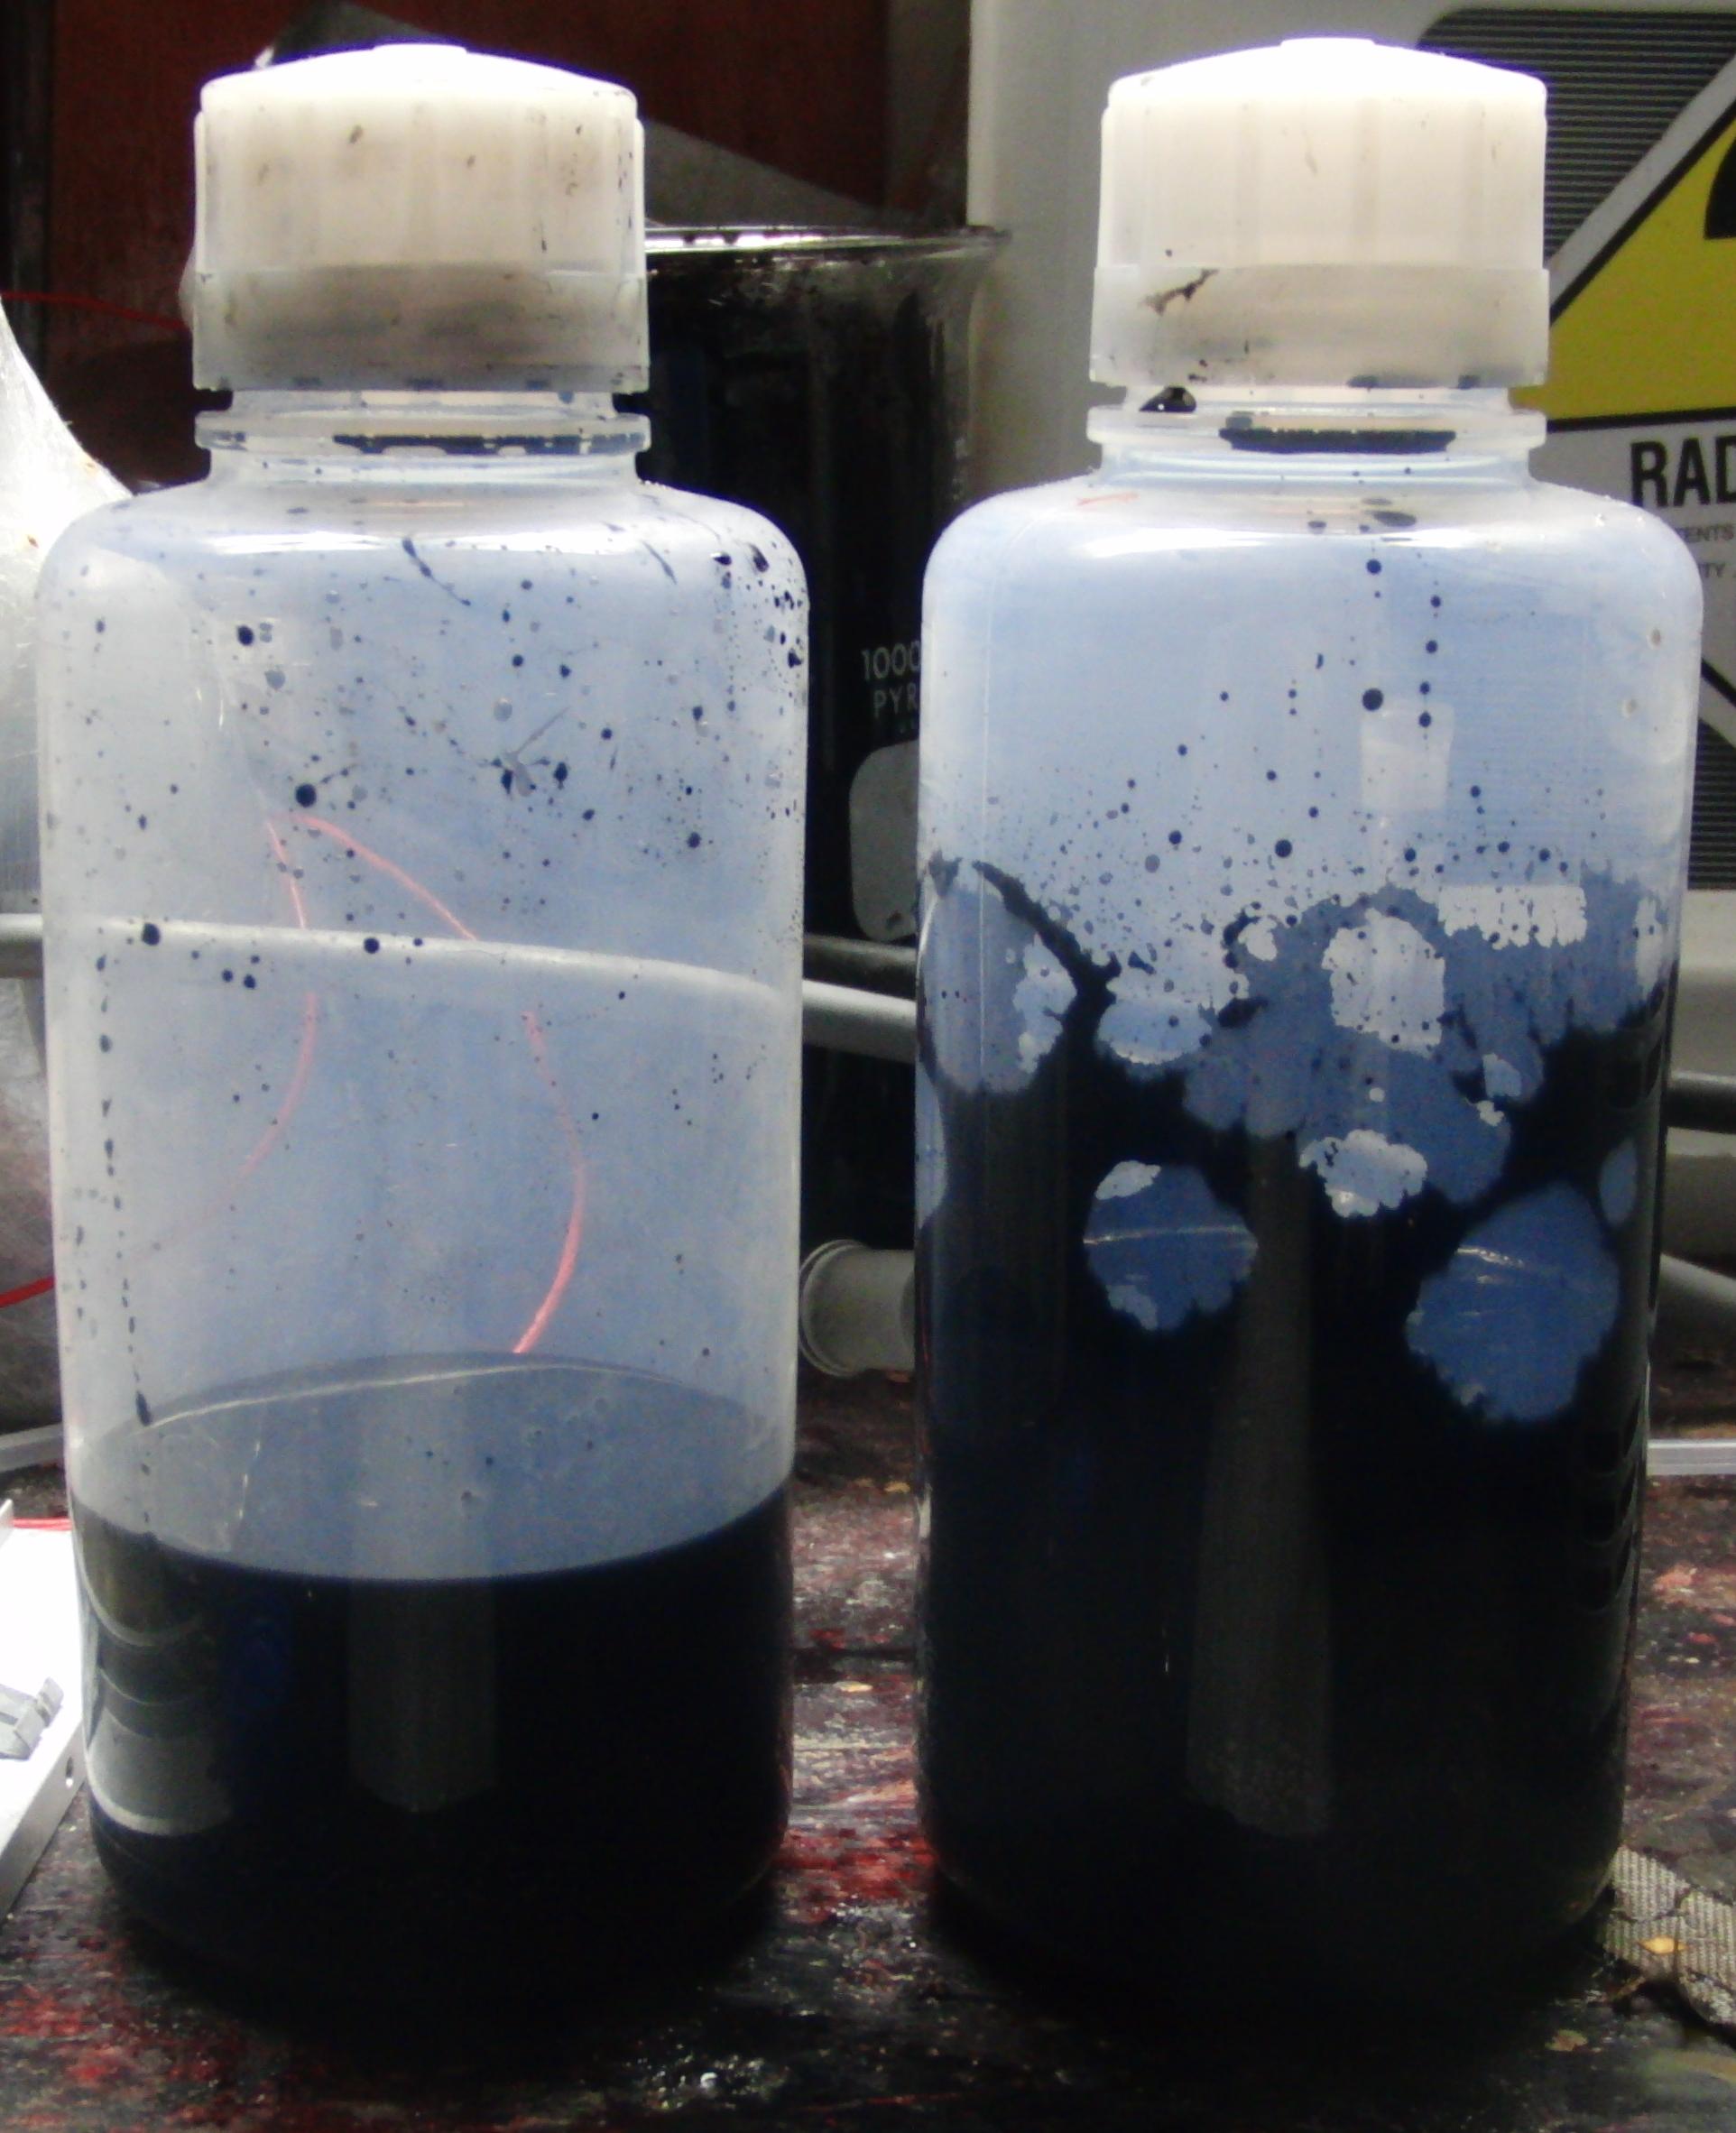
- As the acid is used it becomes thicker. Two bottles sloshed around at the same time shows the used acid much thicker and still sticking to the side
Example flip chip ready to be washed in a silver-copper package:
The wires are still attached to the chip and solder balls. However, after washing begins, they quickly become a tangled mess and should be removed.
H2SO4 + FNA
WARNING WARNING WARNING: this is very dangerous. The mixture will instantly explode upon contact with many organics. Not recommended, was more of a curiosity. In short, a mix of these two will decap a chip much faster. At room temperature the sample chip swelled up in addition to dissolving. See Cold nitric acid experiments for details.
Drain Pipe Opener
Some strong drain pipe openers are essentially Piranha solutions. Based on my experiments, this solution has worked great for most epoxy packages. It is also very easy to obtain in many countries and regions without any regulation, making it a good alternative to sulfuric acid.
That said, it's just as dangerous as concentrated sulfuric acid, so it should be treated with extreme caution and protection of PPEs.
The only downside is that it eats away metal and bonding wires.
Drop the chip in a beaker and submerge it in the solution. Heat the solution to boiling (warning: intense smoking will occur), and wait about 1.5 hours until the die is fully exposed.
My personal recommendation is the Black Swan “Zap” 51996 Sulfuric Drain Opener, but similar-looking drain pipe openers should have the same ingredients.
Anhydrous sulphuric acid
Anhydrous sulphuric acid causes the epoxy to swell and come off. I have heard of this, but have no good references on the technique.
Advantages
- Probably protects most metal
Disadvantages
- Slow, think this takes 1+ days of soaking
Rosin
https://ic.onidev.fr/en/die/rosin_decap.html
Boil a chip for a few hours in rosin, like used for soldering. Refluxing equipment is ideal. Should eat away the casing. Might be best used with Dremeling or other techniques to remove the majority of the epoxy first. The active ingredient for this is abietic acid.
Advantages
- Relatively available materials. Can be collected off of pine trees in the area.
Disadvantages
- Coats glassware and other equipment. Very hard to remove
- Using natural sap may require refining to make repeatable
- Relatively slow
- Foraging for sap does not scale
Automatic decapsulation
There's a fine line between laziness and efficiency. I don't judge.
References
- CDCA: 403 errors (as of Nov 2023), archived in Wayback Machine: http://web.archive.org/web/20180106035620/http://www.ecpe.org/fileadmin/_recycler_/07_Kerisit_Tools_Dedicated_to_Chip_Access.pdf

