Table of Contents
by John McMaster
2015-01-20: shot a video, needs to be edited. Should have some good details
This tutorial will go through the details of what is needed to setup a lapping machine and basic usage.
Caution
This procedure is going to suggest putting your finger into moving machinery. This is obviously a good way to break your finger, look at the site disclaimer and be careful.
This procedure also suggests using cyanide which is deadly.
I found colloidal silica to be a little irritating the first time I tried it without a lapping machine. I think this was because I had to apply more pressure to make up for the lack of moving equipment as I didn't have any problems when using the lapping machine. That said, watch out and consider alternatives if its bothering you.
Why?
Lapping relies on mechanical properties to take a slice out of an IC to show a single layer. This sort of view can be very intuitive, especially in planarized chips. Note that non-planarized chips may not give as good as results but it can still be useful.
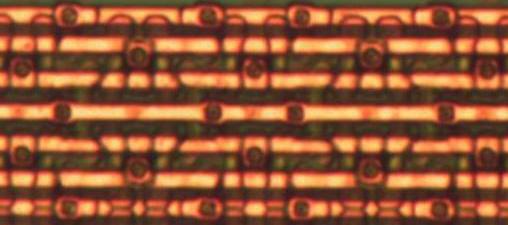
Heres an example of what you can get out of non-planarized chips (
Setup
A typical basic setup following parts:
- Master lap: solid aluminum disk that connects to motor shaft. Not necessarily flat but should be radially symmetric
- Backing plate: very flat disk to protect the master lap and provide a flat work surface. I use an MTI EQ-MBP-8-2 although I suspect a plastic sheet would work just as well for most purposes
- Polishing pad: flexible cloth that is the “abrasive”. I use an MTI EQ-PP-8PSA-PC
- York (optional): some machines will have a Y to place polishing jigs
- Jig (optional): holds a sample in place. A finger may suffice
- Machine: essentially a very stable motor and possibly some mounting brackets. I use a very basic unit, a Crystalite CrystalMaster 8
- Motor: provides rotation
- Motor speed controller: most units have variable speed
- Slurry: chemical mechanical polishing (CMP) solution. I use MTI 0.05 um colloidal silica
- Slurry dispenser, typically one of
- Pump: a chemically resistant pump to recirculate solution such as a peristaltic pump. Overkill for most small setups
- Reservoir: hold a large amount of solution that has to be occasionally refilled. I use a small burette
- Collection bottle: since the solution will not be recirculating it has to go somewhere. Let it collect so it can be recycled
My setup:
Note the splash guard to collect slurry as it spins off into the tray below. It feeds through a hole in the bottom to a collection bottle on the floor.
Collection bottle (don't believe everything you read!)
Sample preparation
The die must have all bond wires removed. Metal will be difficult to remove and lead to uneven polishing. Several options:
- Mechanically knock the wires off. Use an inspection scope and a plastic pair of tweezers or two. Crude but effective. It will, however, mess up the area around the bonds as you will be ripping up silicon and damage is usually minor but unpredictable
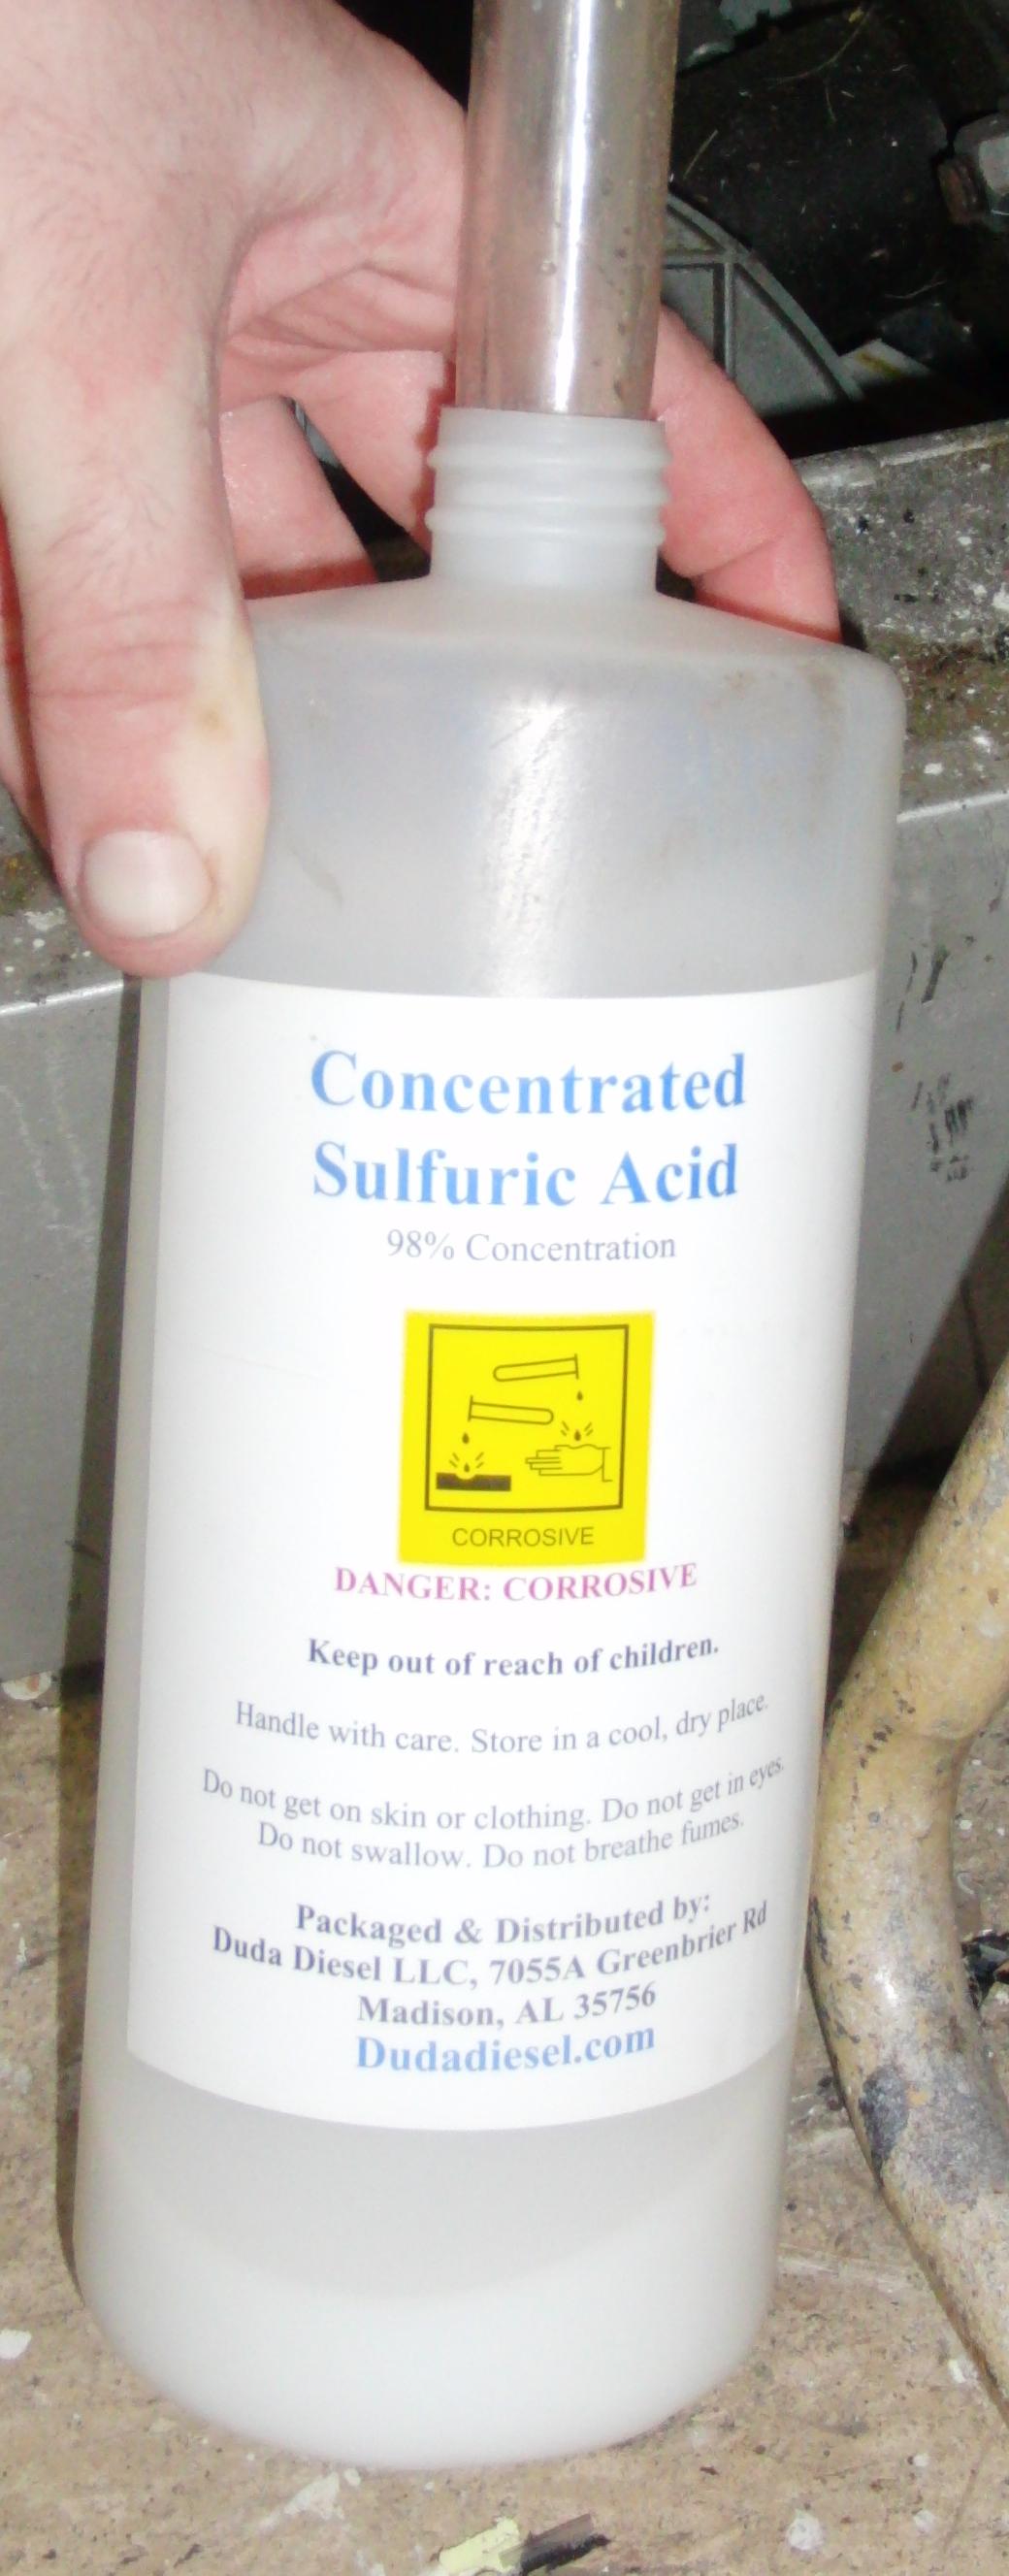
- Corrode the bond pads: if they are aluminum, prolonged exposure to H2SO4 or short exposure to dilute HNO3 should eat them away. Don't wait too long though or you'll eat into the chip
- Gold: NaCN can probably be used to remove it cleanly. Watch out though as cyanide is deadly. TODO: link to a page on this
Lapping procedure
Open the stopcock to get solution flowing from the reservoir. A good rate should be between 1 and 3 drops per second. Have it land a little off center, maybe by an inch.
Get the machine spinning at around 5 or 10 revolutions per second where the solution is landing. I found slower speeds required excessive pressure to get good results which faster speeds were harder to control and let to more accidents.
Carefully observe which way the wheel is spinning. In a short bit you will wan to place you finger on the wheel with a sample such that the wheel is running away from your fingers and maybe an inch diameter further than where the solution is dropping 180 degrees across the wheel. This will allow it to even out while still being sufficiently wet.
Wet your finger by placing it on the wheel. Now while its still wet pick up the die with your finger touching the blank side. The silica will dry a little and should lightly cement it to your finger. Try to keep it in the center so that pressure is more even.
Now slowly place it down on the wheel in the position indicated earlier. Apply very light pressure, what I would more or less consider to be the weight of your finger. Lap for 30 seconds and then inspect under a microscope. As you get a better feel for pressure and such you should adjust as timing will likely be very machine specific.
Tips
Your finger will turn white from contact with the silica. SiO2 is non-toxic and only and issue if its irritating you skin. My experience seems to show that irritation probably means you are applying too much pressure.
Always wet your finger before picking up a die. If it falls onto the lapping disk if you are lucky it will safely hit the splash guard. If you are unlucky it will ricochet across the room and shatter against something hard. Consider setting up a plastic sheet around the machine to minimize the impact of this if you have a valuable sample or use a jig.
I have a portable microscope (as opposed to my main which is expensive and weighs several hundred pounds) dedicated for wetwork that makes quickly checking out the sample convenient.
If you find it takes you 20 minutes to get through though you are probably either not going fast enough or not applying enough pressure.
Jigs can be used to take off precision layers but may be overkill for simple analysis. When CT was asked about them he said he had lapping fixtures but didn't use them. A lot of his pictures have uneven lapping so hes probably just interested in exposing a single area. If one wanted full die photographs though they might be a good idea.
Removing an old disc
When I got my machine it had a diamond disk attached to the master lap. I used a heatgun to bring the master lap up to high temperature and then used a punch in the center to bring it out a little. I then took a heavy duty plumbers wrench and ripped it up by rolling it along the diamond disc. While this puts a lot of stress on the master lap the pressure is buffered by the diamond disk and kept even by the flat surface of the plumbers wrench. Once the diamond disc was up the surface was cleaned with acetone. Soaking the disc in acetone for prolonged period may have also worked but would have been slow since the diamond disk was copper/steel backed.


